Configure a Custom Domain for CloudFront with HTTPS
UPDATE 2020-07-14: This article is now redundant, there’s much better instructions in the CloudFront Setup guide.
This article assumes that you’ve already configured CloudFront, as detailed in our CloudFront Setup guide.
Generate a Certificate
Log into the AWS console and visit the AWS Certificate Manager.
IMPORTANT: Make sure you switch to the “US East (N. Virginia)” region using the region selector at the top right, CloudFront only works with certificates that are created in that “global” region.
Click ‘Get Started’ and you will be prompted to enter your first domain.

Enter your domain and any subdomains you want the certificate to cover, or enter a wildcard as I have. Click ‘Review and request’ followed by ‘Confirm and request’. Shortly after you should receive an authorization email.

Once you approve the request your certificate is ready to use.

Adding the Certificate to CloudFront
Open the CloudFront console page and select your distribution.

Click ‘Edit’ and add your custom domain to the ‘Alternate Domain Names’ option. Change the ‘SSL Certificate’ to ‘Custom SSL Certificate’ and select your previously created certificate from the drop-down list.

Make a note of your unique CloudFront URL and log into your DNS control panel. Add a new CNAME entry that points to your CloudFront domain. This entry should match that entered in the ‘Alternate Domain Names’ from within the CloudFront console.

Add Your Custom Domain to WP Offload Media
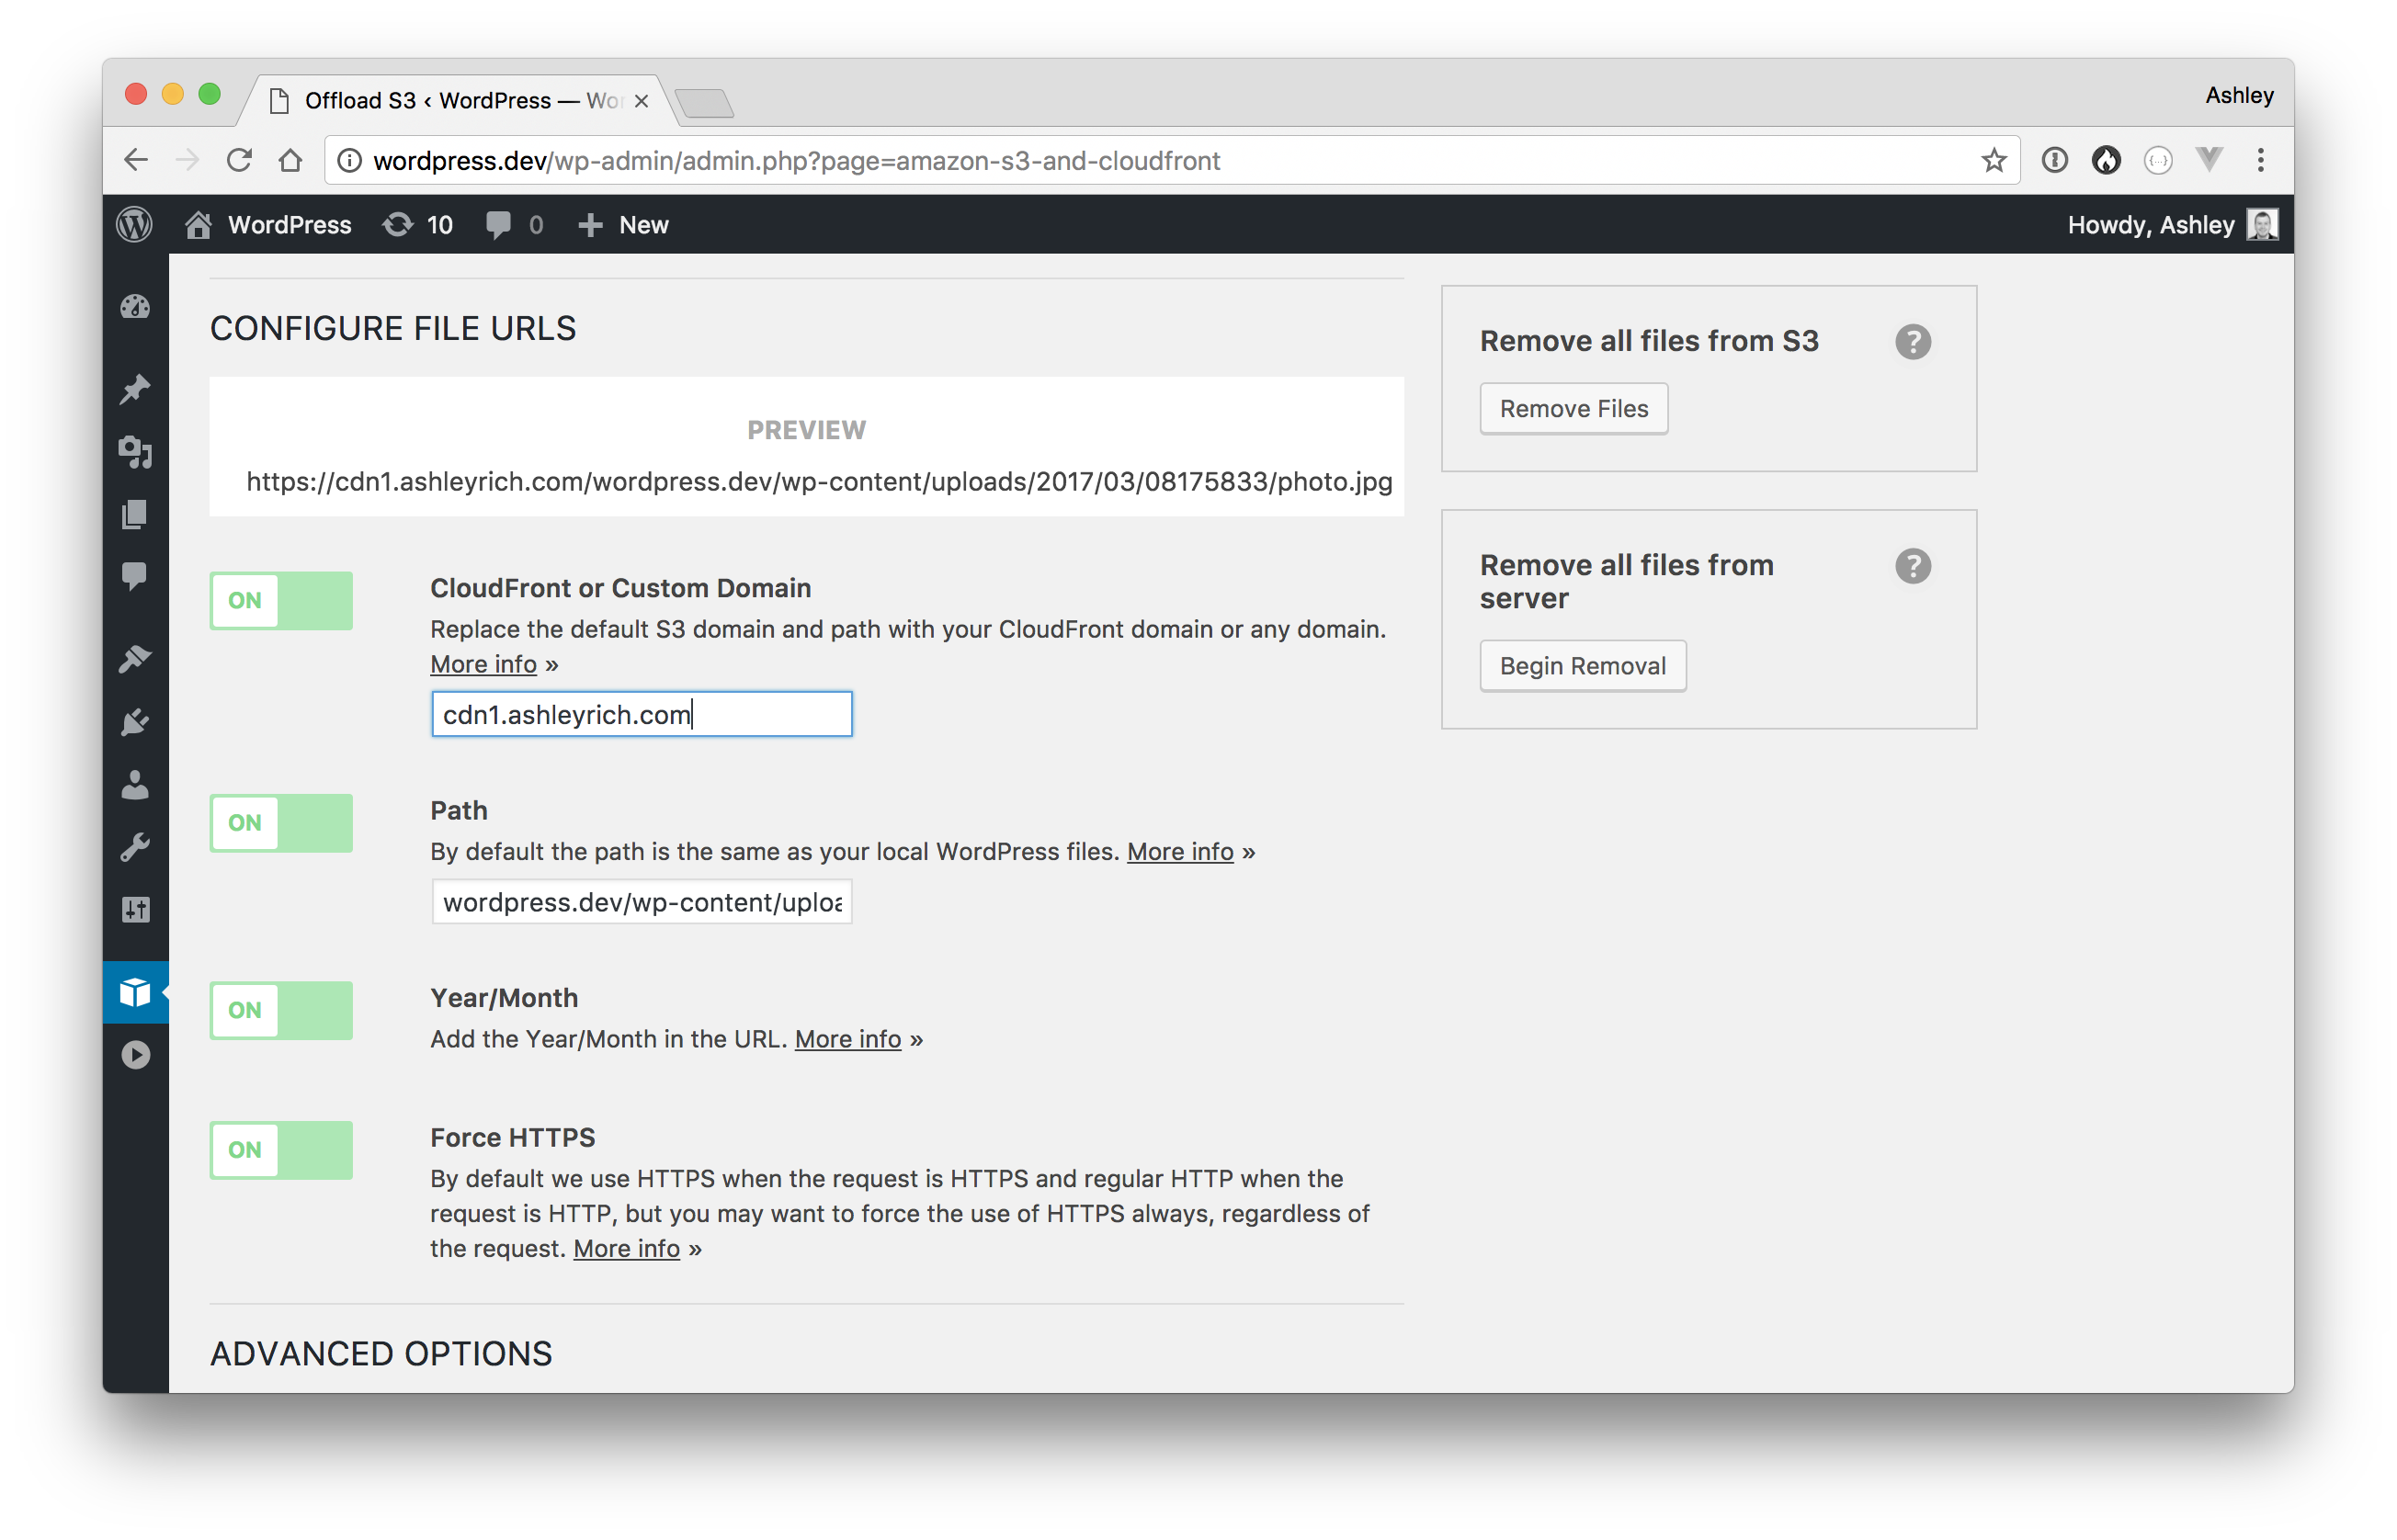
Log into your WordPress dashboard and open the WP Offload Media settings screen. Change the ‘Domain’ option to ‘CloudFront or Custom Domain’ and enter your new custom domain. If you’re using the Assets addon remember to also update the ‘CloudFront or Custom Domain’ option on the Assets tab.

Now if you load the front-end of your site and open the developer tools you should see that the URLs point to your custom domain.
