How to Set Up a Custom Domain CDN for Google Cloud Storage
This article assumes that you’ve already set up a Google Cloud Storage (GCS) bucket and followed the steps within our Google Cloud Storage Quick Start Guide.
To use a CDN and custom domain with the GCS bucket being used with WP Offload Media, you need to create a Load Balancer in your Google Cloud Platform (GCP) project. The load balancer is required in order to properly terminate HTTPS traffic with a certificate and then route the request and response via the CDN enabled backend, which in this case will be a GCS bucket.
This guide assumes you’re setting up a load balancer for the first time in the GCP project that hosts your bucket. If you’ve already created load balancers and other related configurations in your project and want to re-use them, then please adjust these instructions accordingly.
Sign in to GCP via the Console home page and navigate to Load Balancing within the Network Services section. Click the Create load balancer button.

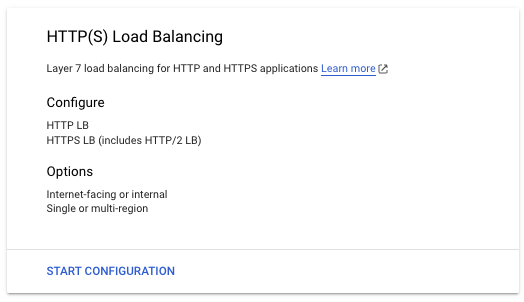
You’ll need to create a HTTP(S) Load Balancing type of load balancer, click its Start Configuration button.
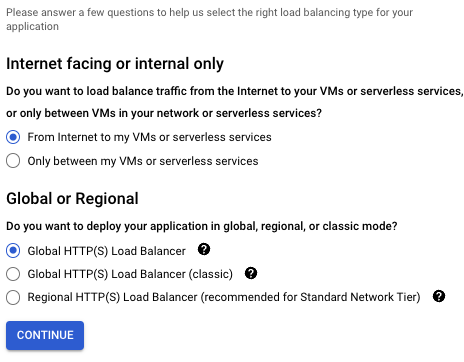
Ensure that From Internet to my VMs or serverless services is selected. This allows internet traffic to reach the load balancer.
Give the new load balancer a short and relevant name, then name the frontend IP and ensure HTTPS.
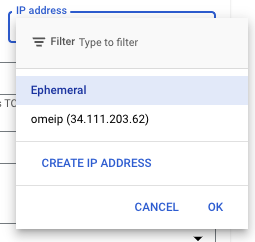
The load balancer will need the IP to be static so it does not change away from what will be configured in DNS later. Click the dropdown for IP address and click Create IP Address
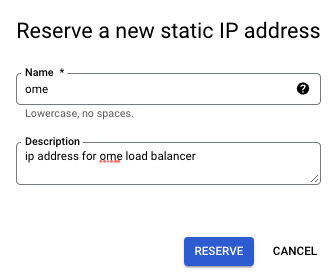
Enter a relevant name and description for the Static IP then click Reserve.
As you’re creating a load balancer frontend that handles HTTPS traffic it needs a certificate, so within the Certificate dropdown click the Create a new certificate option.
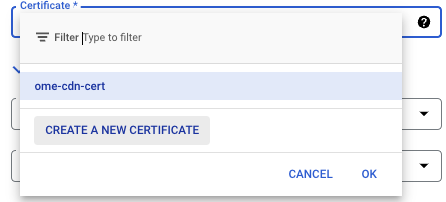
In the Create a new certificate panel enter a short and relevant name for the certificate, then select Create Google-managed certificate as the Create mode. In the Domains section add the custom domain you wish to use for the CDN that fronts your offloaded media, make sure to click or tab out of the domain entry box to enable the Create button, which you can click to save the new certificate

Next we will configure the backend Storage Bucket. Click Backend configuration, Then click Create A Backend Bucket.
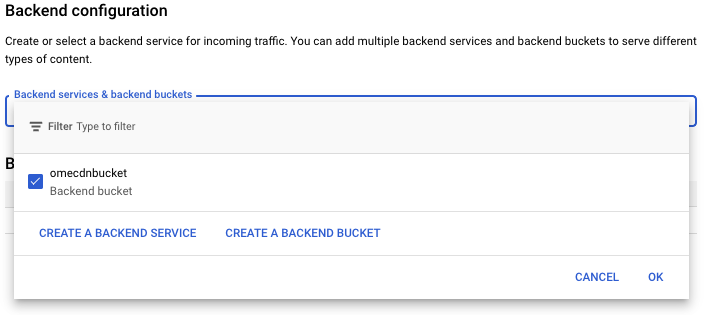
Click Browse to open a bucket search window.

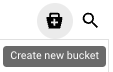
Then click Create new bucket.
Then supply a name for your Google Cloud Storage bucket. This is a globally unique name across all of Google Cloud Storage, so pick one that is unique to your service.

Click Create to have the bucket created, then Select to choose the bucket for the backend.
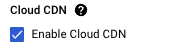
It’s at this point that we specify that we want to use a CDN to cache the objects being served by the bucket backend, so you should also make sure to select the Enable Cloud CDN option within the Cloud CDN section before clicking the Create button.
Now you just need to finalize the HTTPS frontend settings by clicking the Done button.

At this point you can optionally add another frontend for HTTP traffic. If you wish to do so, click the + Add Frontend IP and port button underneath the new HTTPS frontend.

The configuration for this frontend is much quicker, just select the same IP address that you set up for the HTTPS frontend and then click Done.
Now review the settings and if all looks good click that Create button!
The load balancer and certificate will start provisioning.
It can take a good few minutes for the certificate in particular to provision, so while you wait set up the A record for your custom domain using the IP address that you reserved earlier. The UI for creating an A record varies from one DNS provider to another, but here’s what ours looked like.
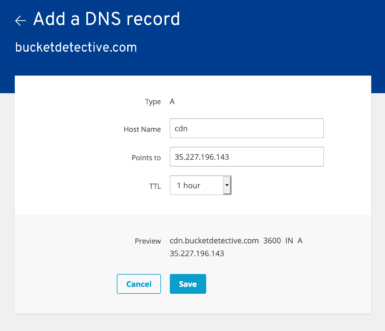
It can also take some time for DNS changes to populate around the world, so now’s a good time for tea and biscuits.
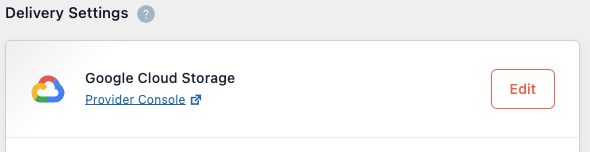
Once both your certificate and DNS changes have provisioned you can return to WP Offload Media’s settings page and click the Edit button next to the Delivery Provider that should currently show as “Google Cloud Storage”.
From the list of Delivery Providers pick GCP Cloud CDN, then click the Save Delivery Provider button.

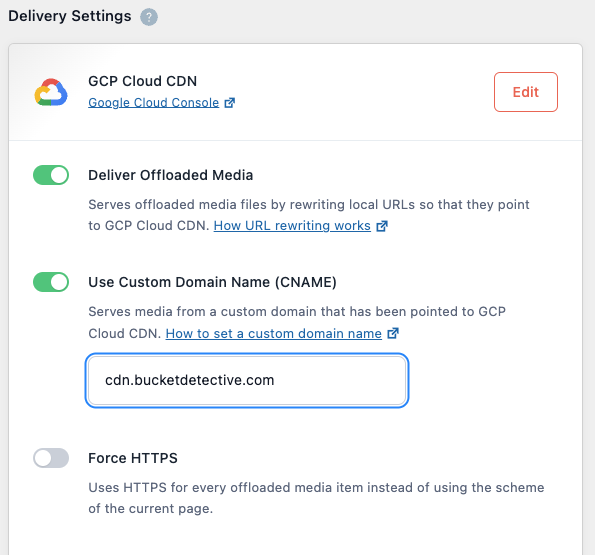
You can then update WP Offload Media to use the new domain by turning on the Custom Domain (CDN) setting and entering the new domain before clicking the Save Changes button.
Congratulations, your site should now be serving its Google Cloud Storage hosted Media Library via a CDN using a shiny new domain!