Assets Quick Start Guide
With the Assets feature you can start serving your site’s assets (CSS, JS, fonts, etc) from CloudFront, or another CDN in just a few clicks. The Assets functionality is available for premium users with a Gold (or better) license.
This article covers the following steps:
- Create an Amazon CloudFront distribution for assets
- Configure WP Offload Media to rewrite assets URLs
- Add a Custom Domain Name (CNAME) to the distribution
While this article details how to set up WP Offload Media’s Assets feature using the Amazon Cloudfront CDN service, the Assets functionality isn’t tied to Amazon CloudFront, most pull style CDN services work just fine.
Create an Amazon CloudFront distribution for assets
Log into the AWS console and ensure you’re in the “Distributions” section of the AWS Console’s CloudFront page.
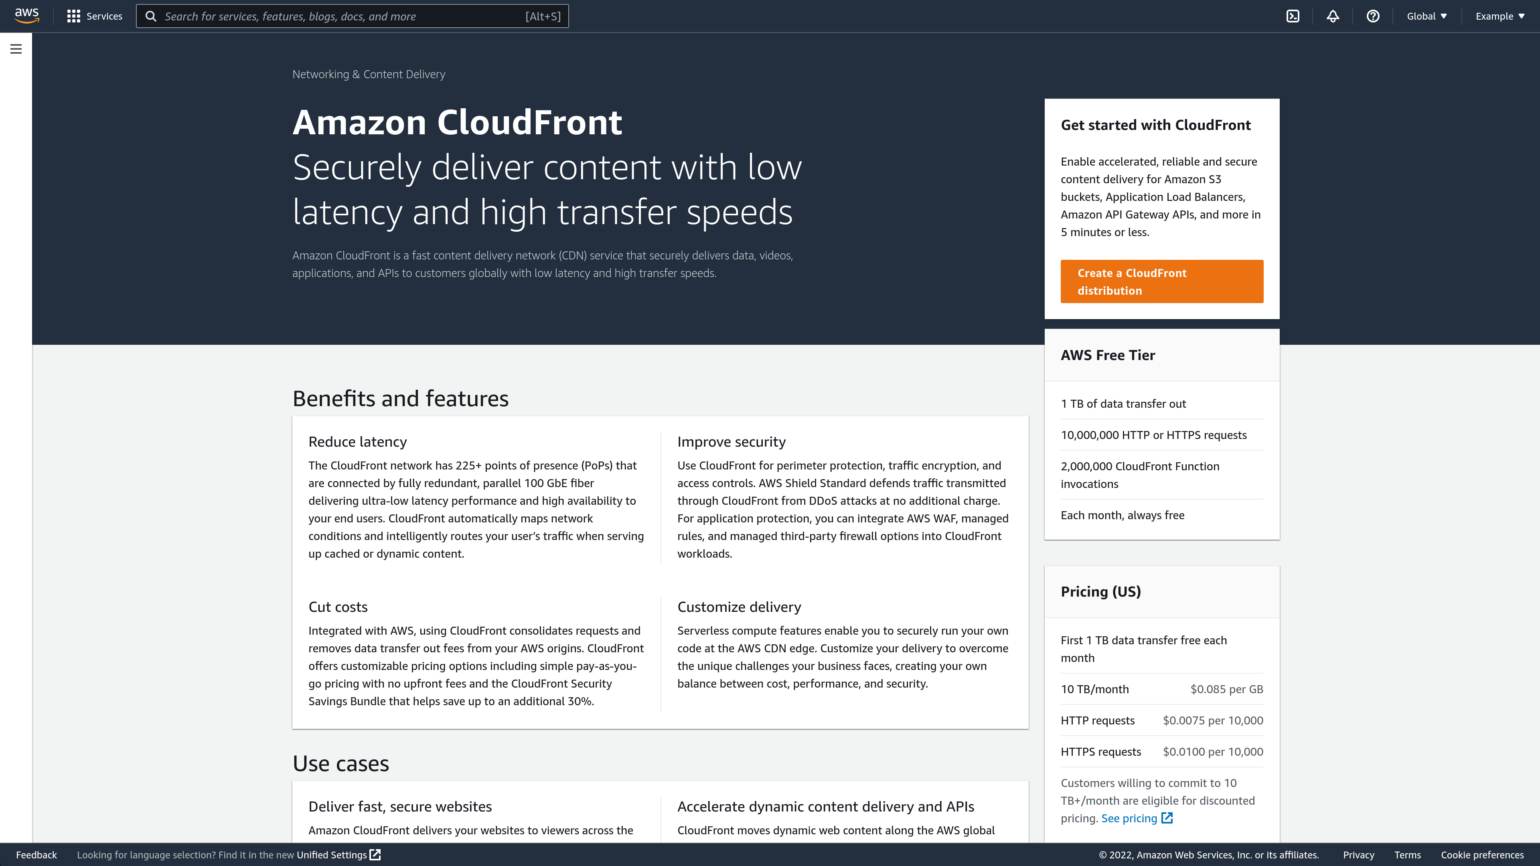
If you have never created a distribution on your Amazon AWS account, you may be presented with a landing page explaining what CloudFront is. Click the orange Create a CloudFront distribution.
If you instead open the 3 bar “burger menu” to the left and click the Distributions link, you will be presented with an empty Distributions list, which has an orange Create distribution button on the top right you can use to get started.
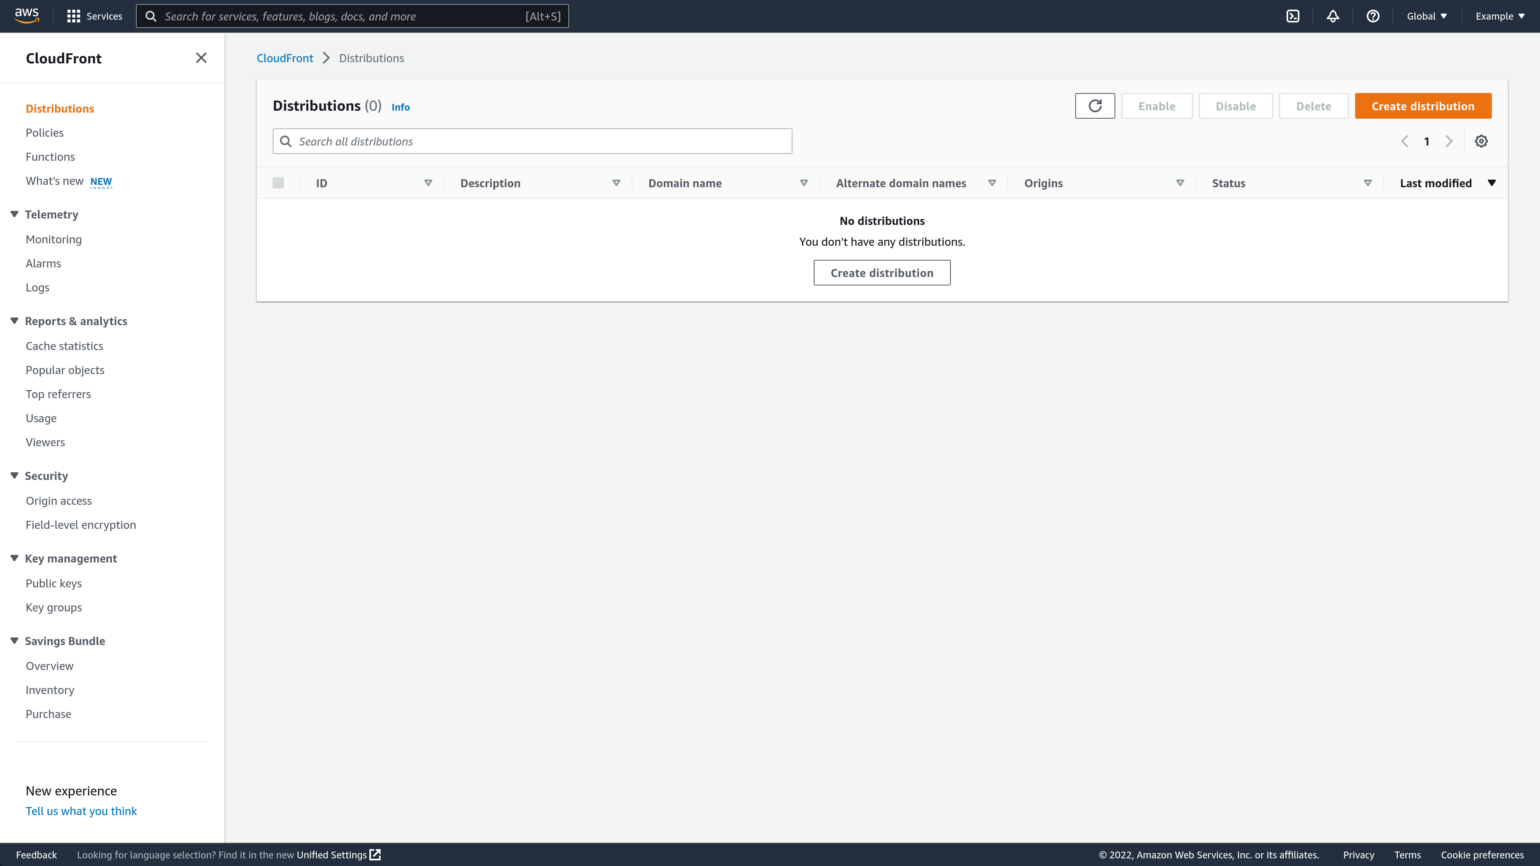
If you already have distributions, click the orange Create distribution button at the top right of the Distributions list to get started.
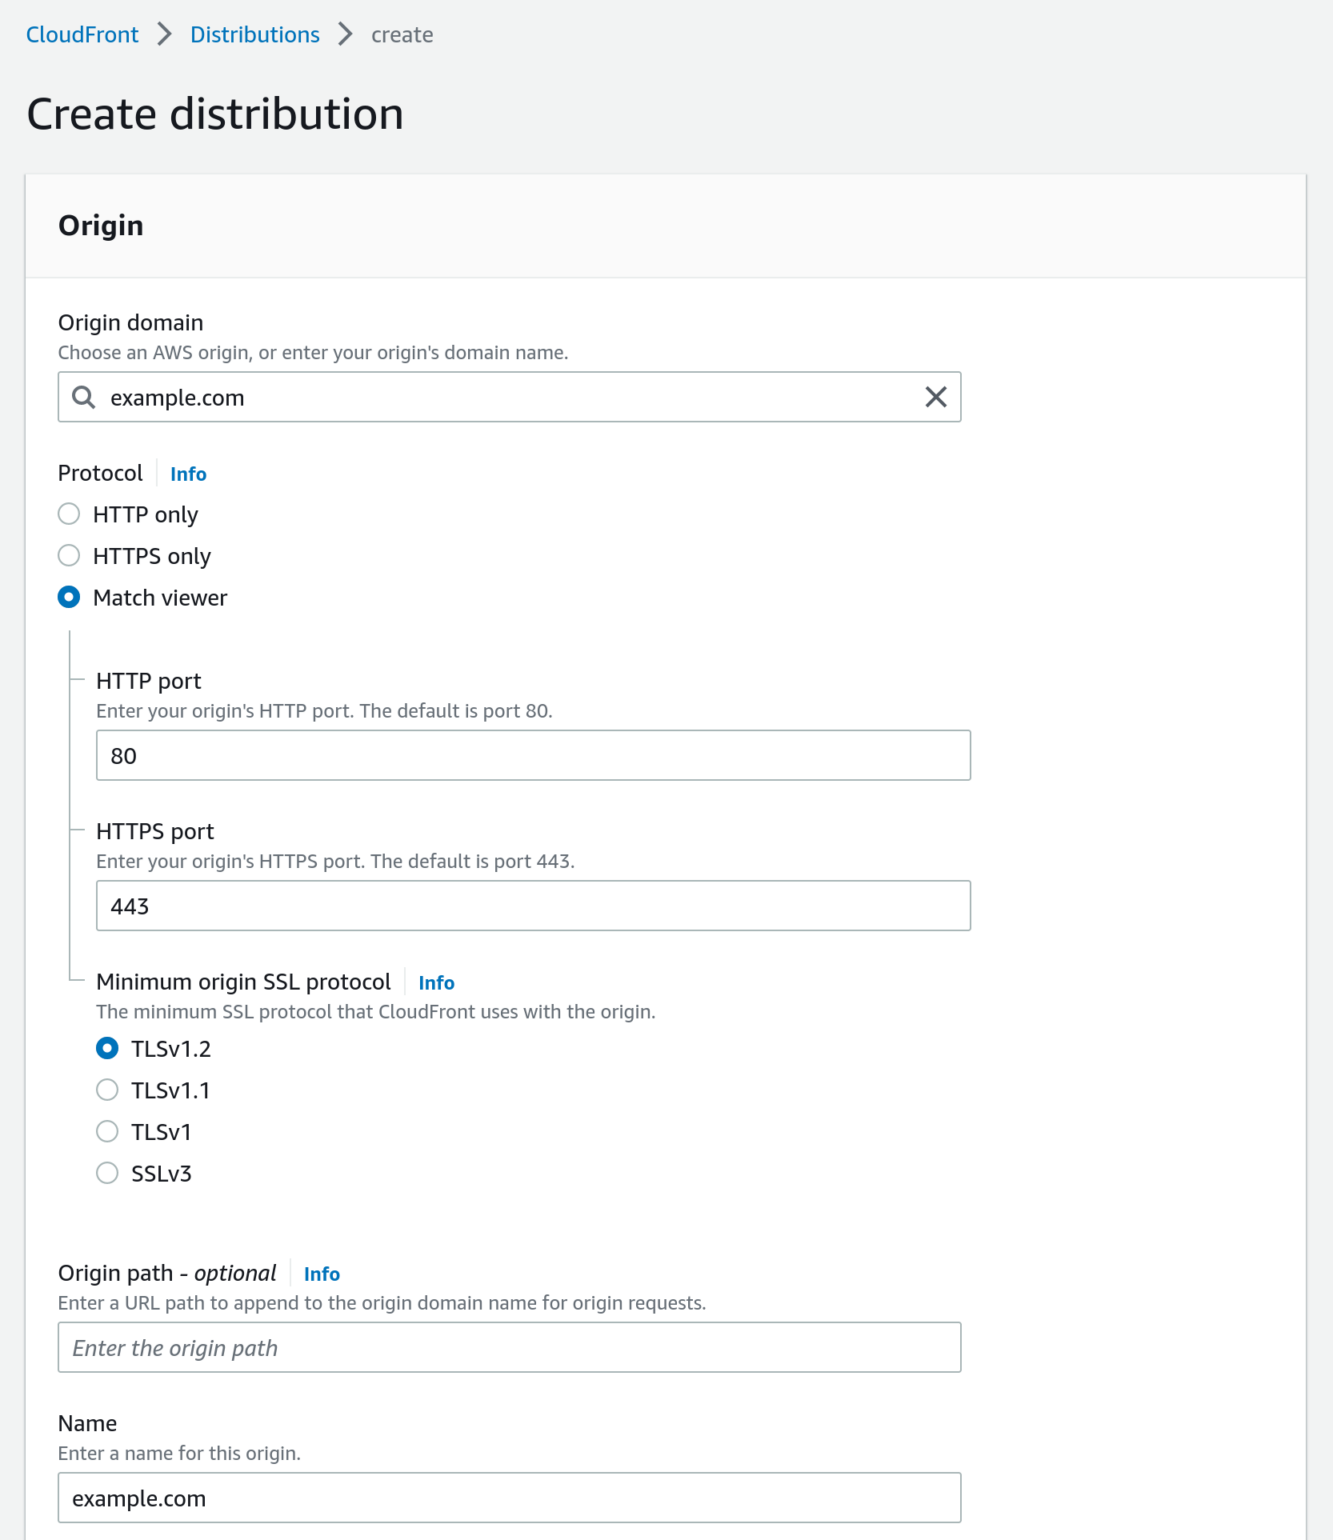
You should be taken to the “Create distribution” page, and see a panel with the name “Origin”.
In the “Origin” section of the “Create Distribution” page, populate Origin domain by entering your site’s domain name. Be careful to enter the correct domain name here, it should be the same domain you see in your site’s WordPress Address (URL) within the Settings → General page, but without the leading https:// or any trailing path. For example, you may enter something similar to www.example.com or example.com, but not https://www.example.com/blog.
While entering your site’s domain name you may see a list of your S3 buckets get shown. Just keep on entering your site’s domain name, and then tab out of the field.
The only other value in the “Origin” panel that may need updating is the “Protocol”. You should be fine to pick Match viewer, but if your site only supports HTTPS then you should pick HTTPS only.
The final change to make is in the “Default cache behavior” panel. Scroll down and change the Cache key and origin requests selection to Legacy cache settings. In the Query strings field that is newly shown underneath, select All. This ensures that the CloudFront distribution updates its cache when WordPress, a theme or plugin updates to a new version and the ?ver=x.y.z parameter added to all CSS and JS files changes.

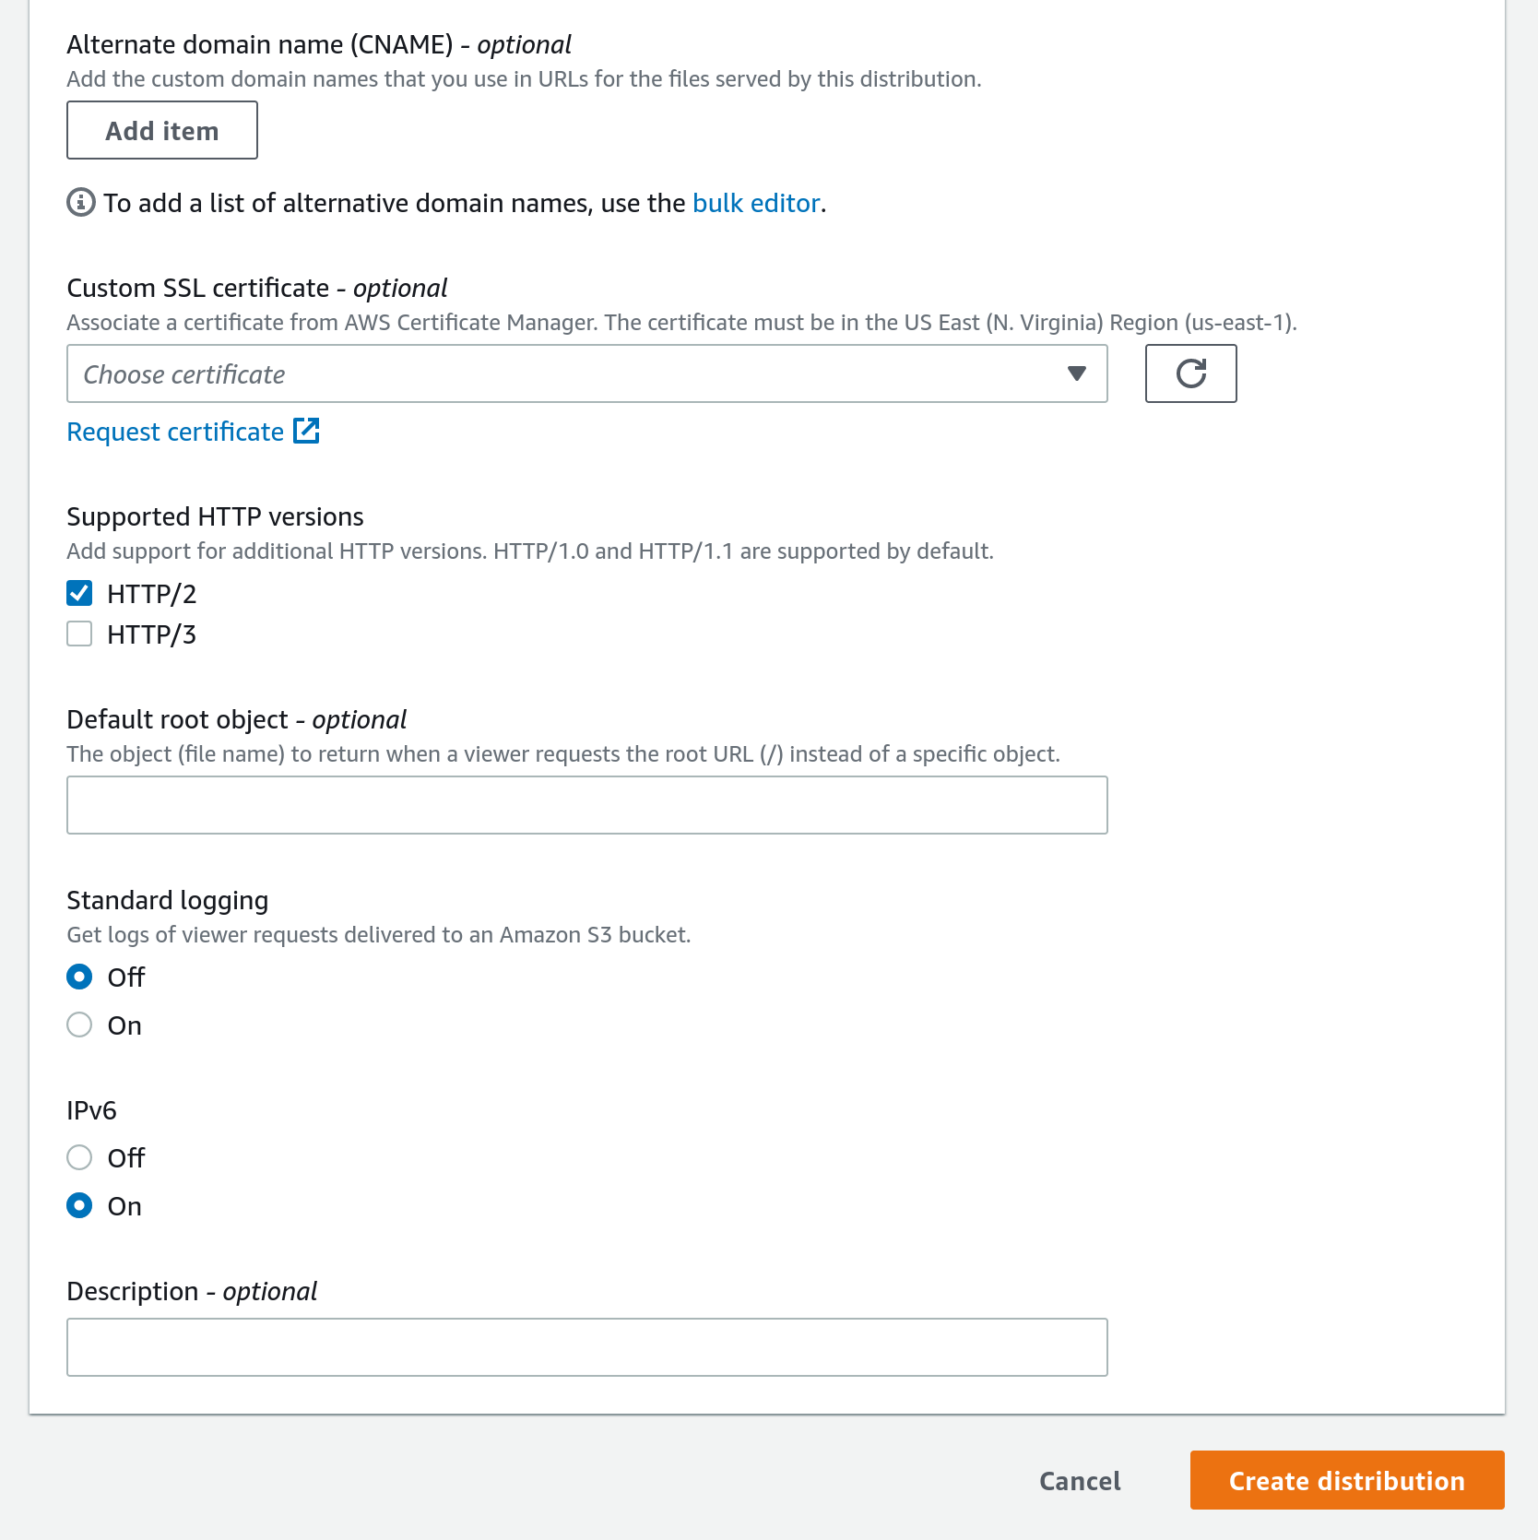
And that is it, all other settings in all the other panels can be left with their default values.
We’ll come back later to update some settings once we’ve tested the new distribution, but for now, scroll down to the bottom of the page and click the orange Create distribution button.
Amazon CloudFront will begin deploying the new distribution configuration to its edge servers. This can take a while.
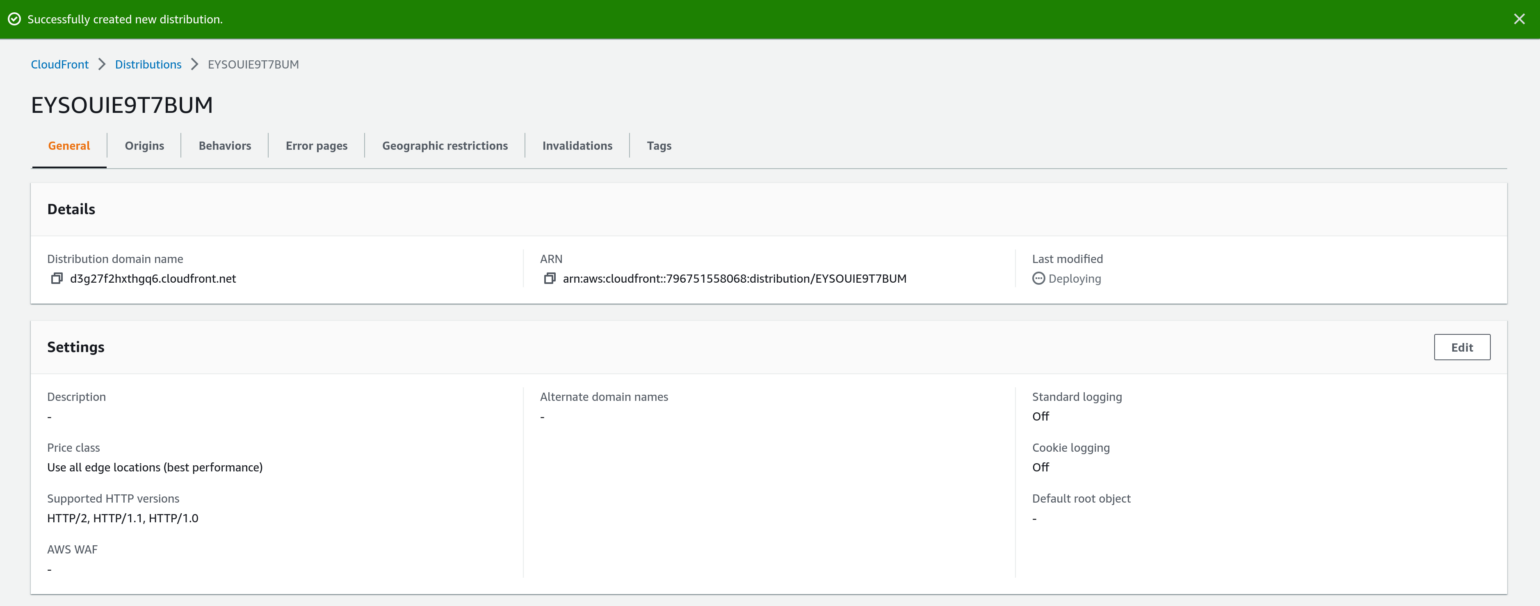
Once the Distribution has finished deploying and the “Last modified date” shows a date rather than status of “Deploying”, take a note of the dXXXXXXXXXXX.cloudfront.net style domain name you see under the “Distribution domain name”. You will need this domain when configuring WP Offload Media.
If you return to the Distributions list you should see the new CloudFront distribution at the top of the list with a status of “Enabled”.

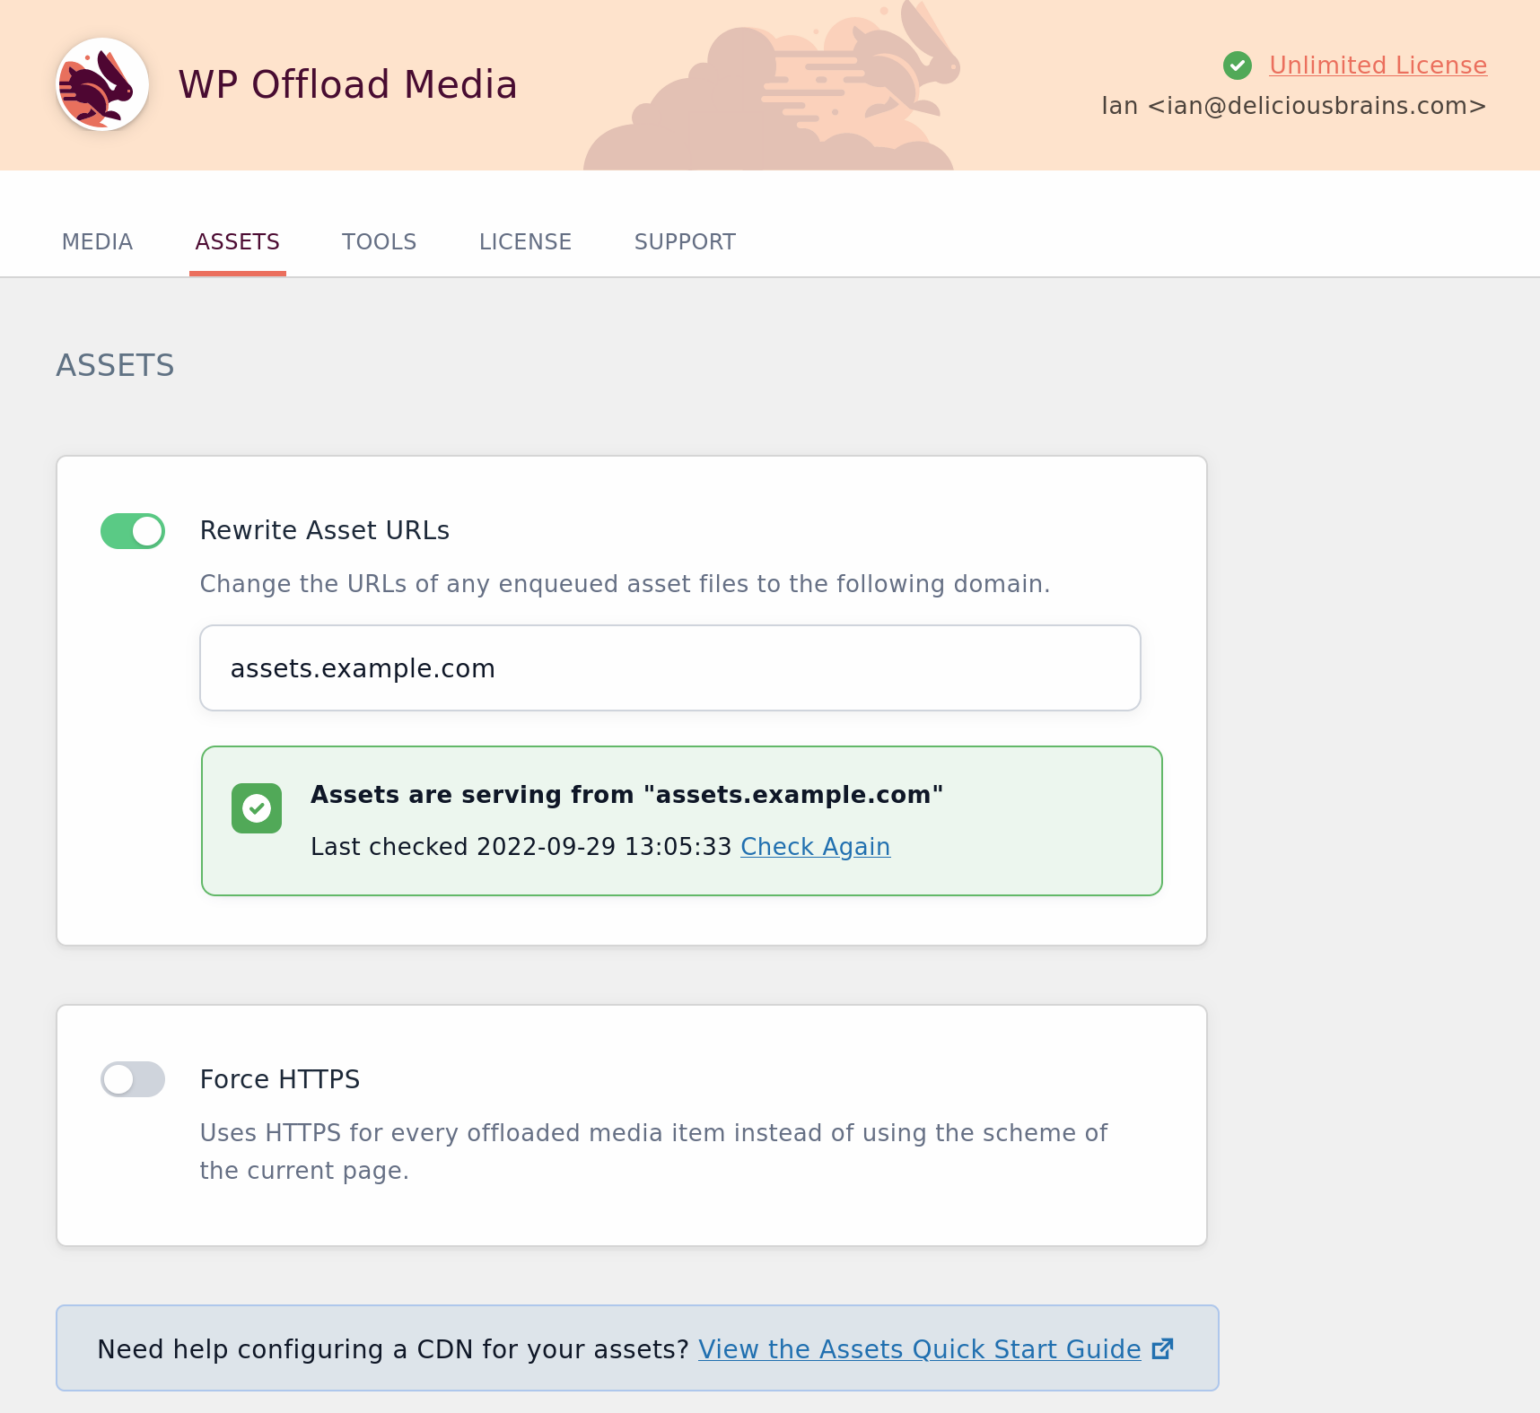
Configure WP Offload Media to rewrite assets URLs
Now that you have a deployed Amazon CloudFront distribution that uses your site as its origin, you can configure WP Offload Media to start delivering the site’s CSS, JS, fonts and other assets via the distribution’s domain name.
Head over to your WordPress site. Visit the WP Offload Media settings page (Settings → WP Offload Media), and click on the Assets tab.
Copy your new CloudFront distribution’s domain name into the field shown under Rewrite Assets URLs. You should see WP Offload Media automatically check the domain to ensure it is properly set up for serving assets from the site.
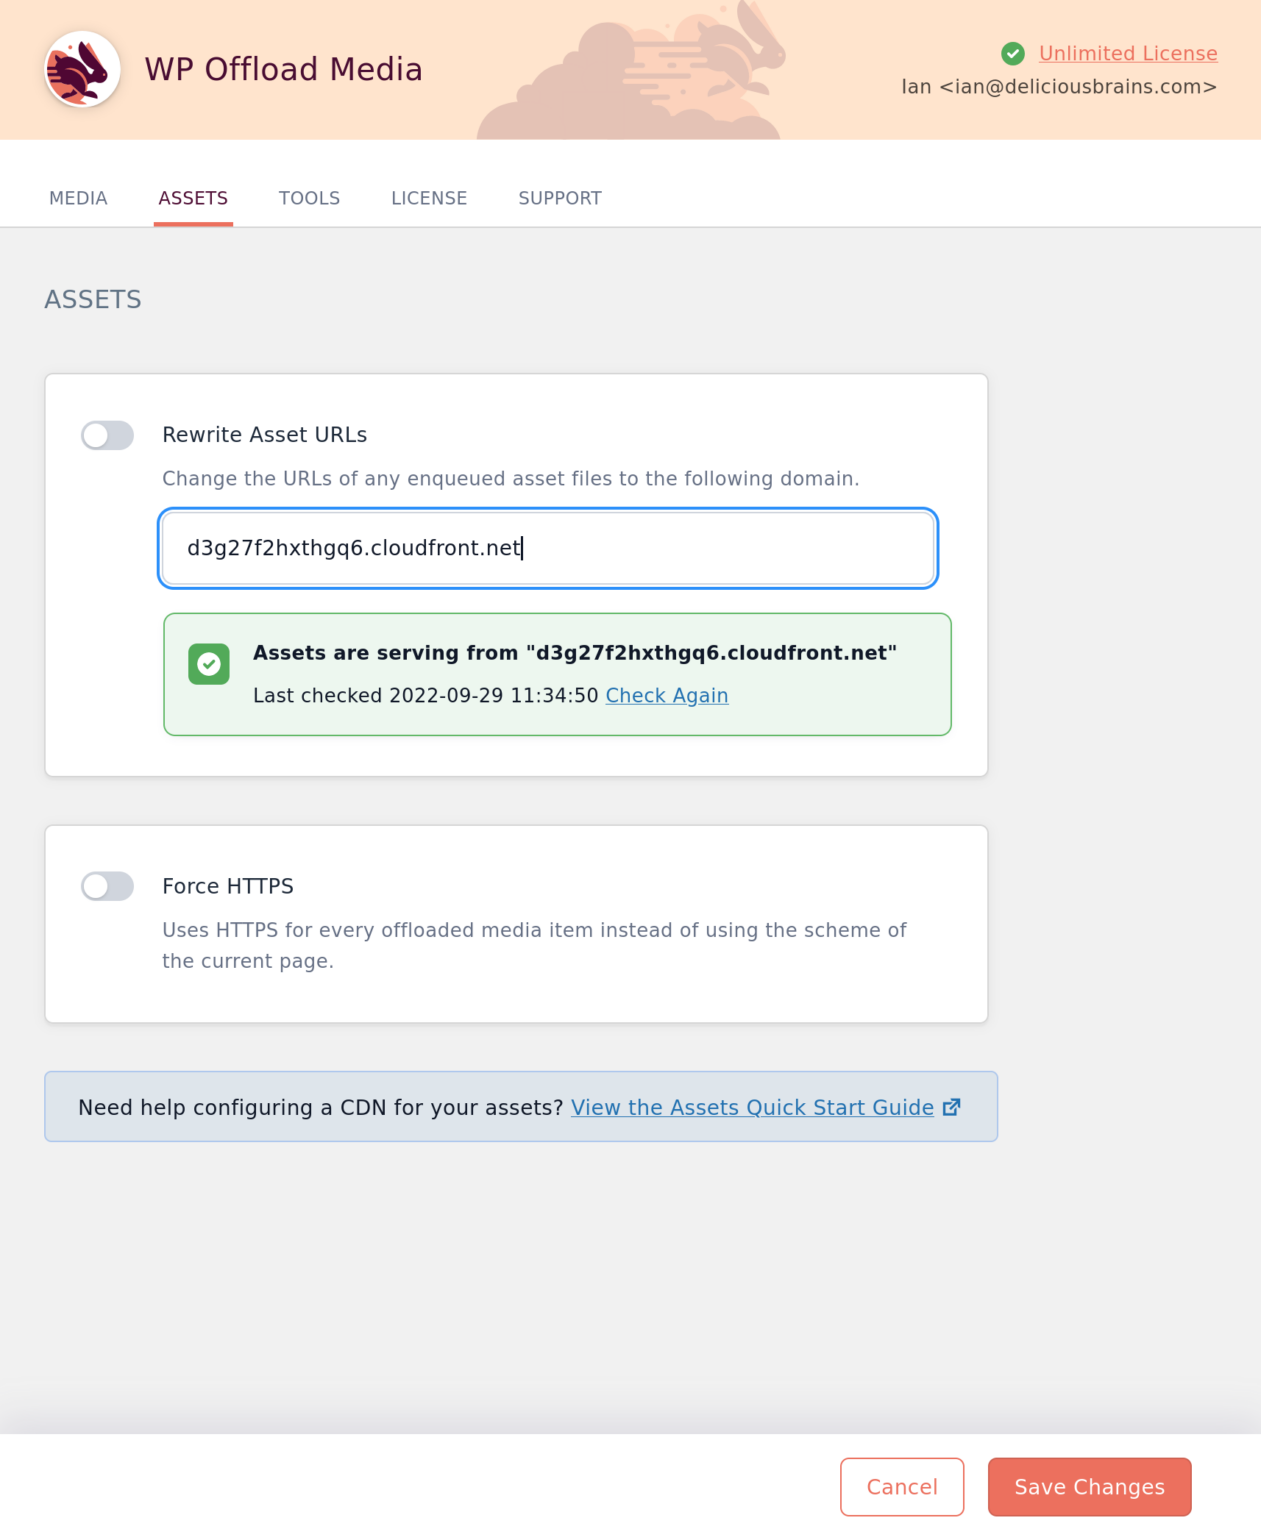
If you have any problems there will be an error message and link to our docs to help. You can recheck the entered domain after making any changes to the distribution by simply by clicking the Check Again link.
Once everything is looking good and the domain check succeeds you are ready to enable “Rewrite Asset URLs” and click Save Changes.
At this point you should visit your site’s home page and check that everything is working as expected.
Add a custom Domain (CNAME) to the distribution
To optimize SEO performance you may want to serve your assets using a custom domain name.
Rather than repeat the same instructions you’ve probably already followed in the CloudFront Setup for Media Offloaded to Amazon S3 guide, please follow its instructions for:
- Add a custom Domain (CNAME) to the distribution
- Create a Free HTTPS Certificate (you can skip this if you’ve already created the wildcard certificate)
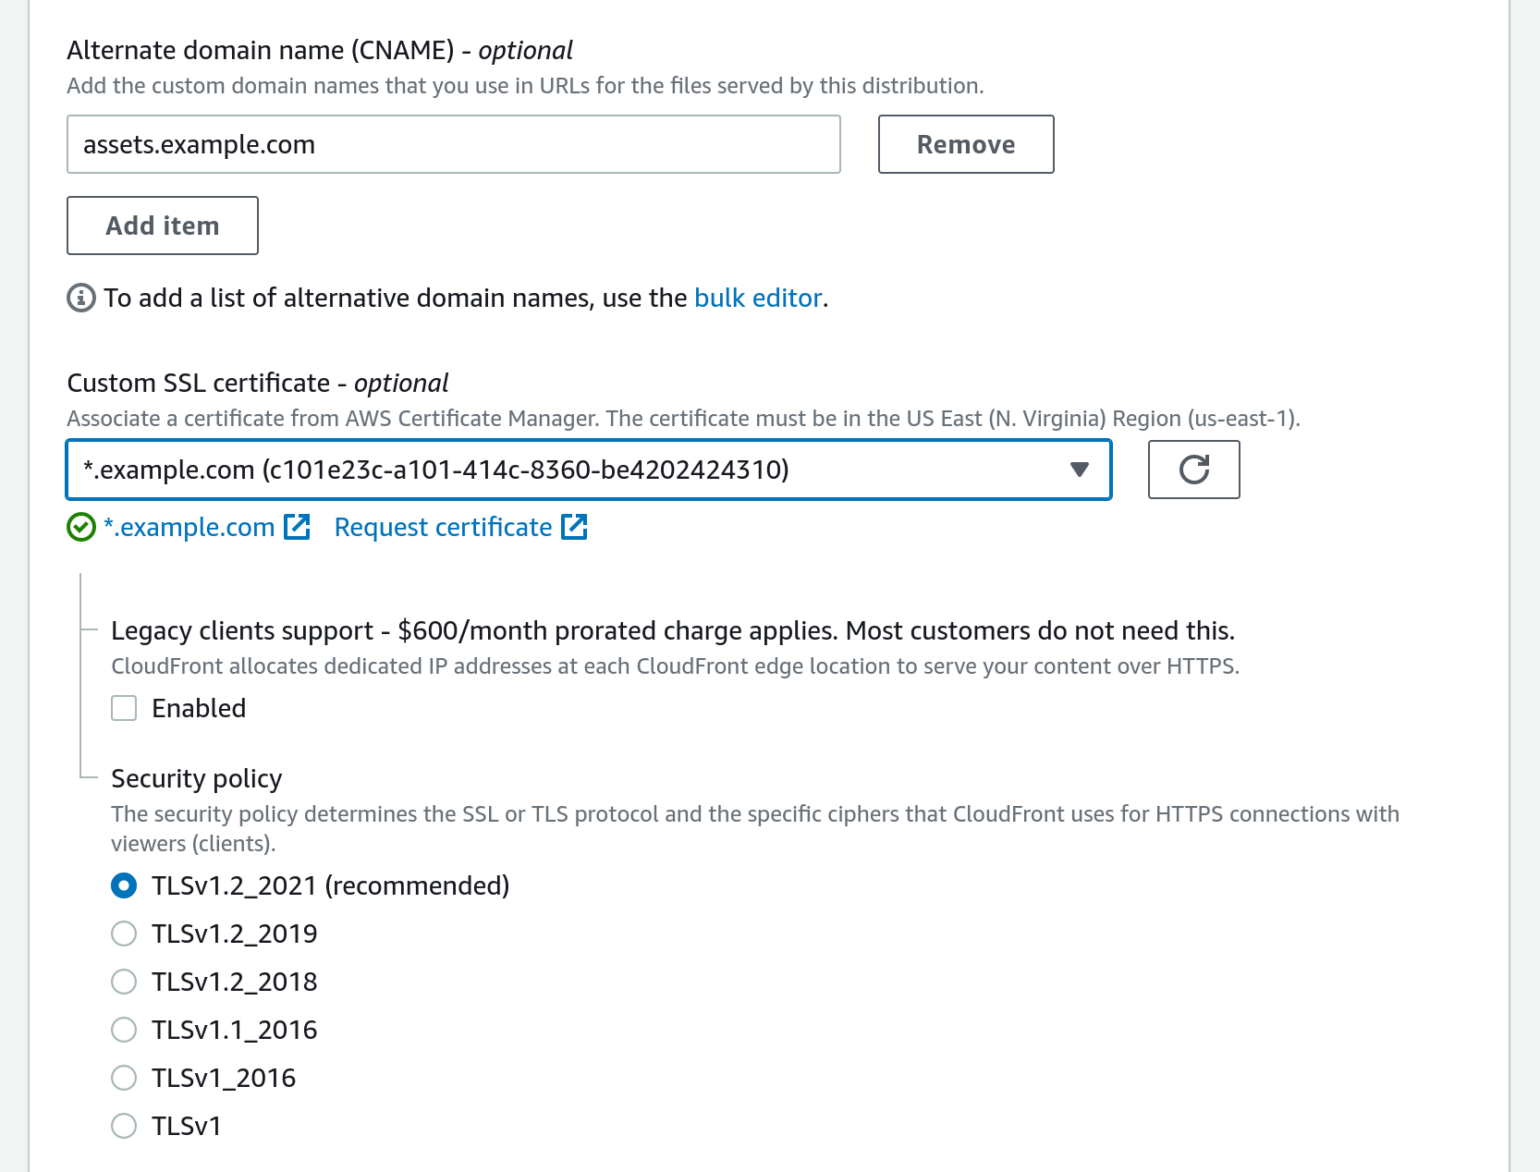
- Add Alternate Domain Name to CloudFront Distribution
Please just remember to name your custom subdomain something different to that you may have used for the CloudFront distribution serving your offloaded media. We recommend something like assets.example.com.
When adding the custom domain as an Alternate domain name for the CloudFront distribution, don’t forget you can use the same wildcard certificate you’ve probably already created for your media serving CloudFront distribution.
Once you finish the above steps and hit the Configure WP Offload Media to Deliver Media via Custom Domain Name step, come back here to finish off configuration in the Assets tab instead.
Configure WP Offload Media to Deliver Assets via Custom Domain Name
Back in the Assets tab of WP Offload Media, simply update the Rewrite Asset URLs field to use your chosen custom domain name, then click Save Changes.
Congratulations, your site is now serving assets via an Amazon CloudFront CDN distribution that has a custom domain name! 🎉