Cron Setup
WP Offload SES relies heavily on cron functioning correctly for background processing, which allows long- running tasks to complete without having any negative impact on your users.
You’ll need to configure the cron yourself to get the best performance for WP Offload SES. This doc will walk you through the process.
Out of the box WordPress checks for cron jobs on every single page load by firing a request off to wp-cron.php, which is very inaccurate. If a site doesn’t receive any visits for a set amount of time, cron will not run during this period. This is also true of sites that implement full page caching, as WordPress is generally bypassed. Basic auth and some security plugins can also restrict cron if not correctly configured.
To ensure that cron runs more often, you need another method of hitting wp-cron.php. If your site is running on Linux and you have access to SSH you can use the built-in crontab. If not, a cron service can be used.
Regardless of which method you choose, a cron schedule of 5 minutes or less is recommended. If you’re setting this up for a Multisite installation, we recommend setting up a cron for each subsite.
Cron Services
There are various cron services available and most offer a free plan, however, the free plans usually limit the frequency in which cron jobs can be scheduled.
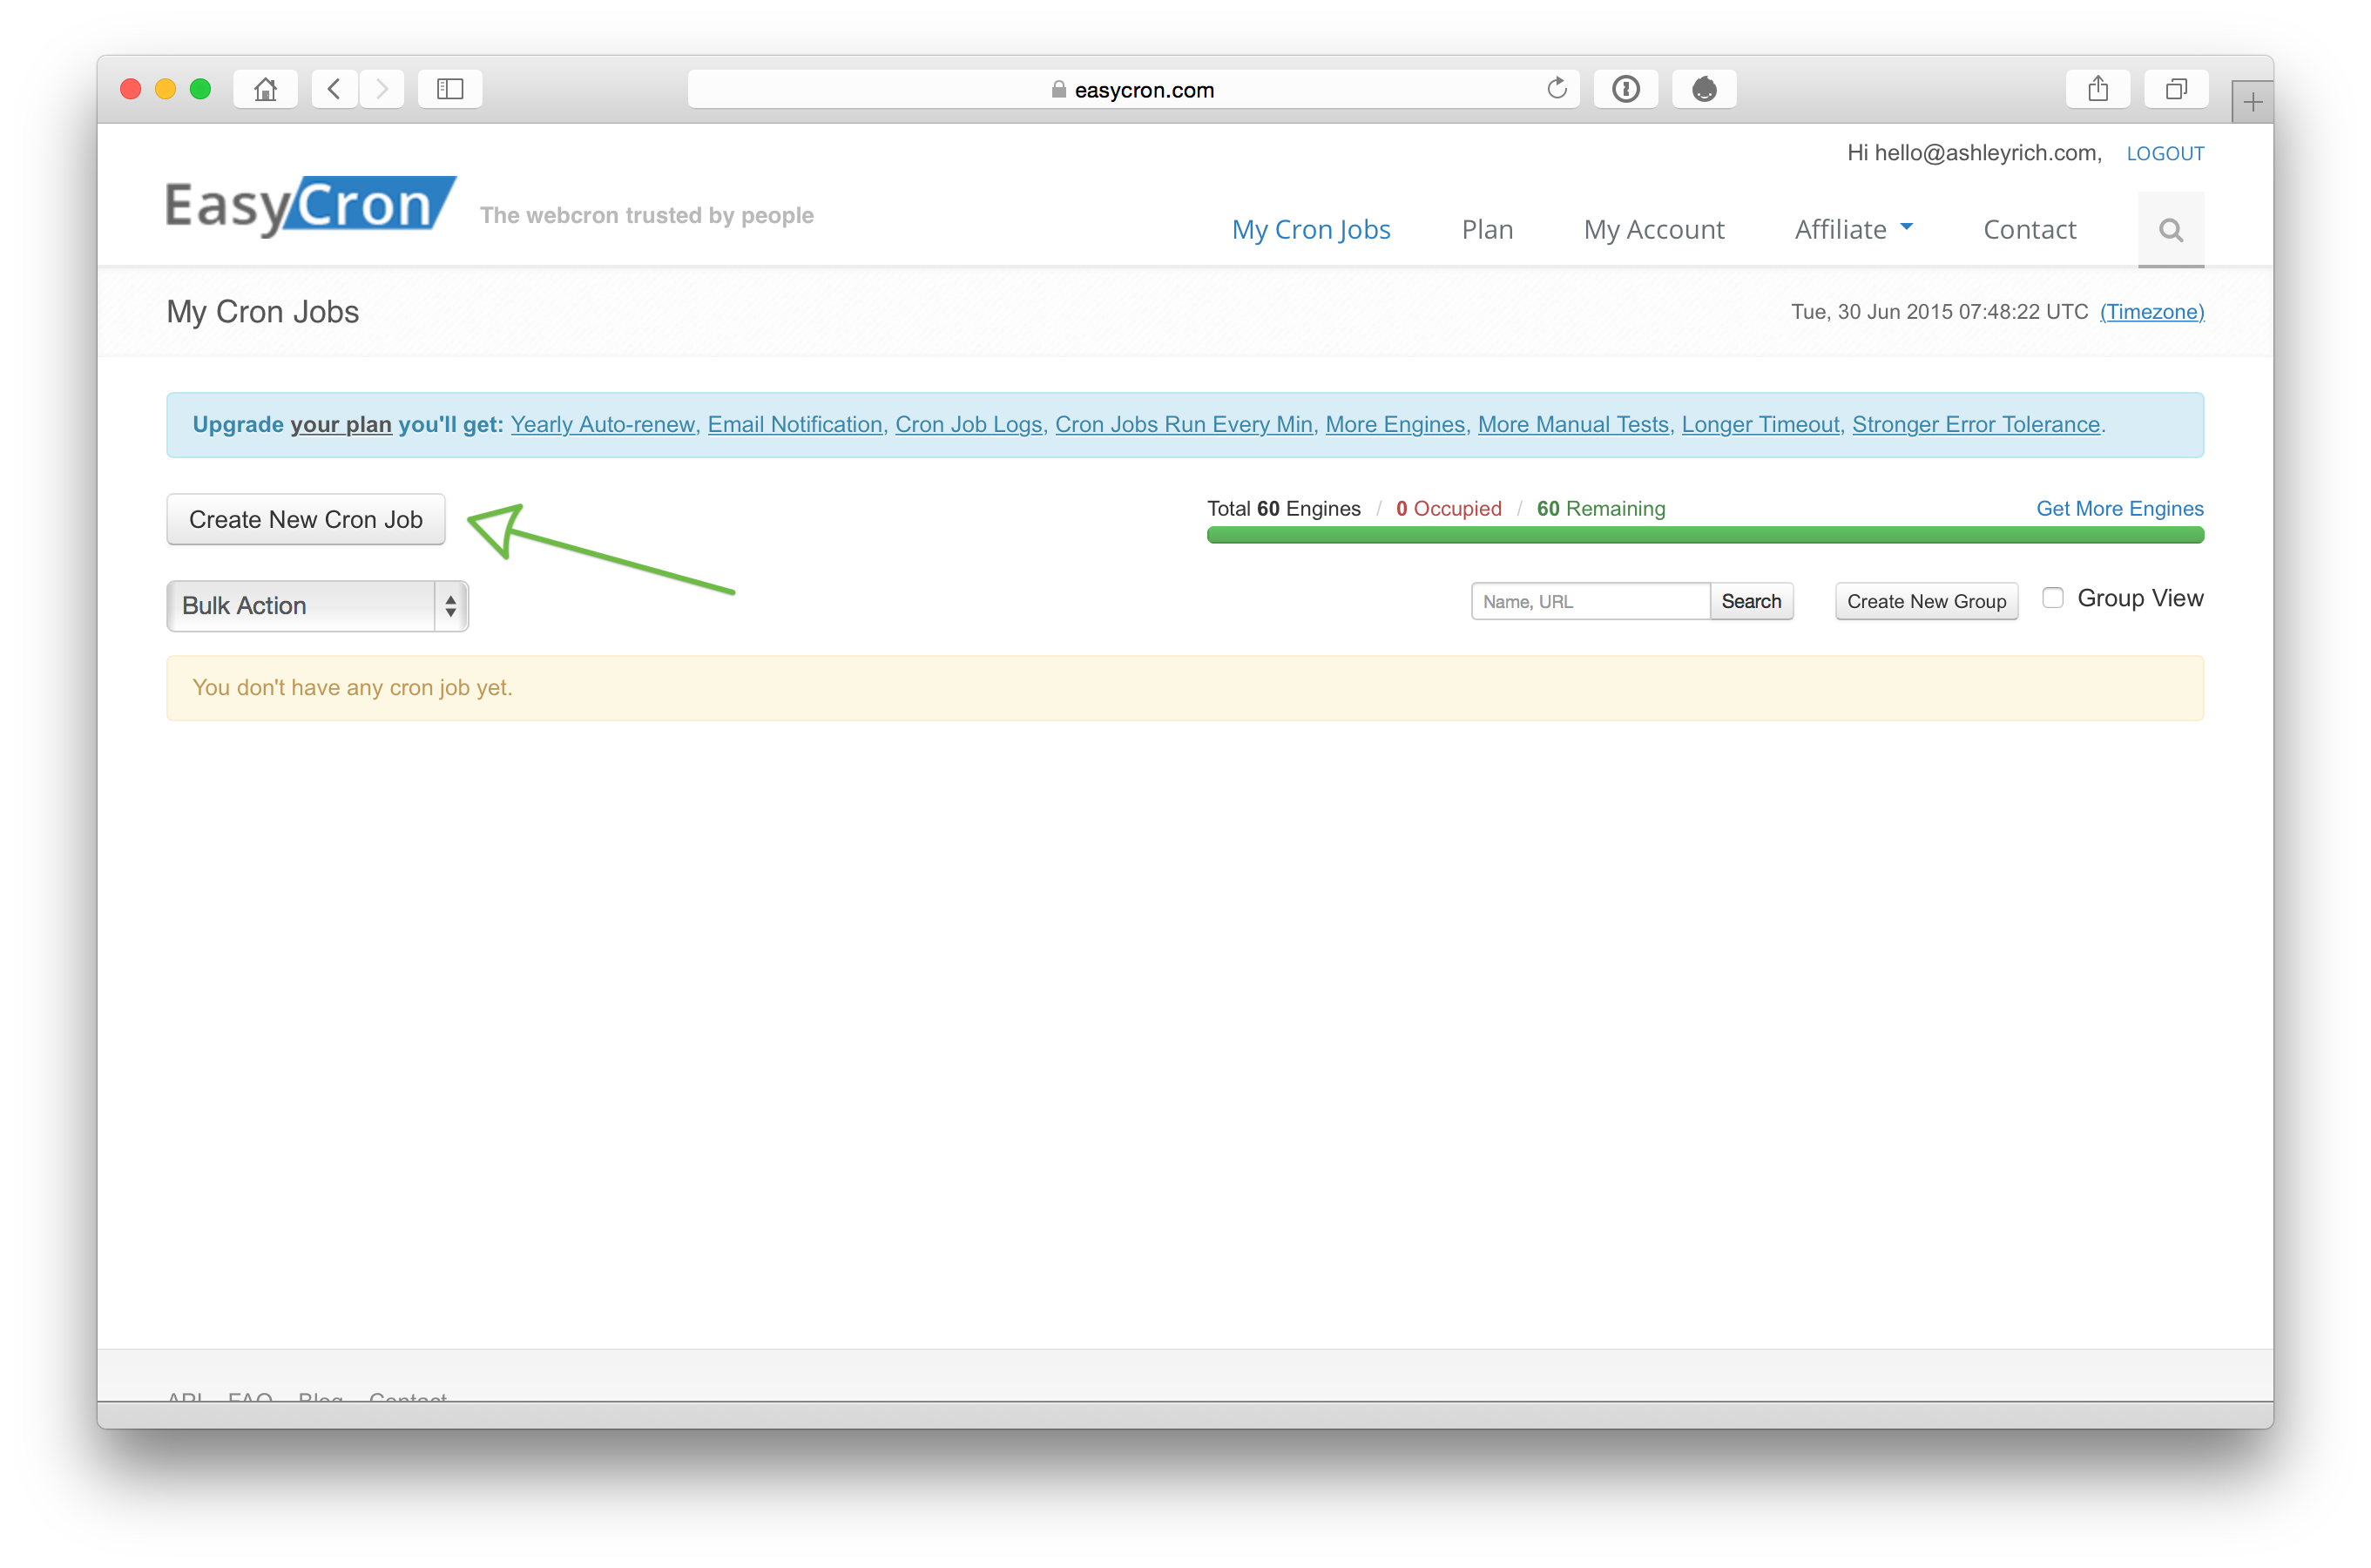
Sign up for an account at your chosen provider and proceed to create your first cron job.
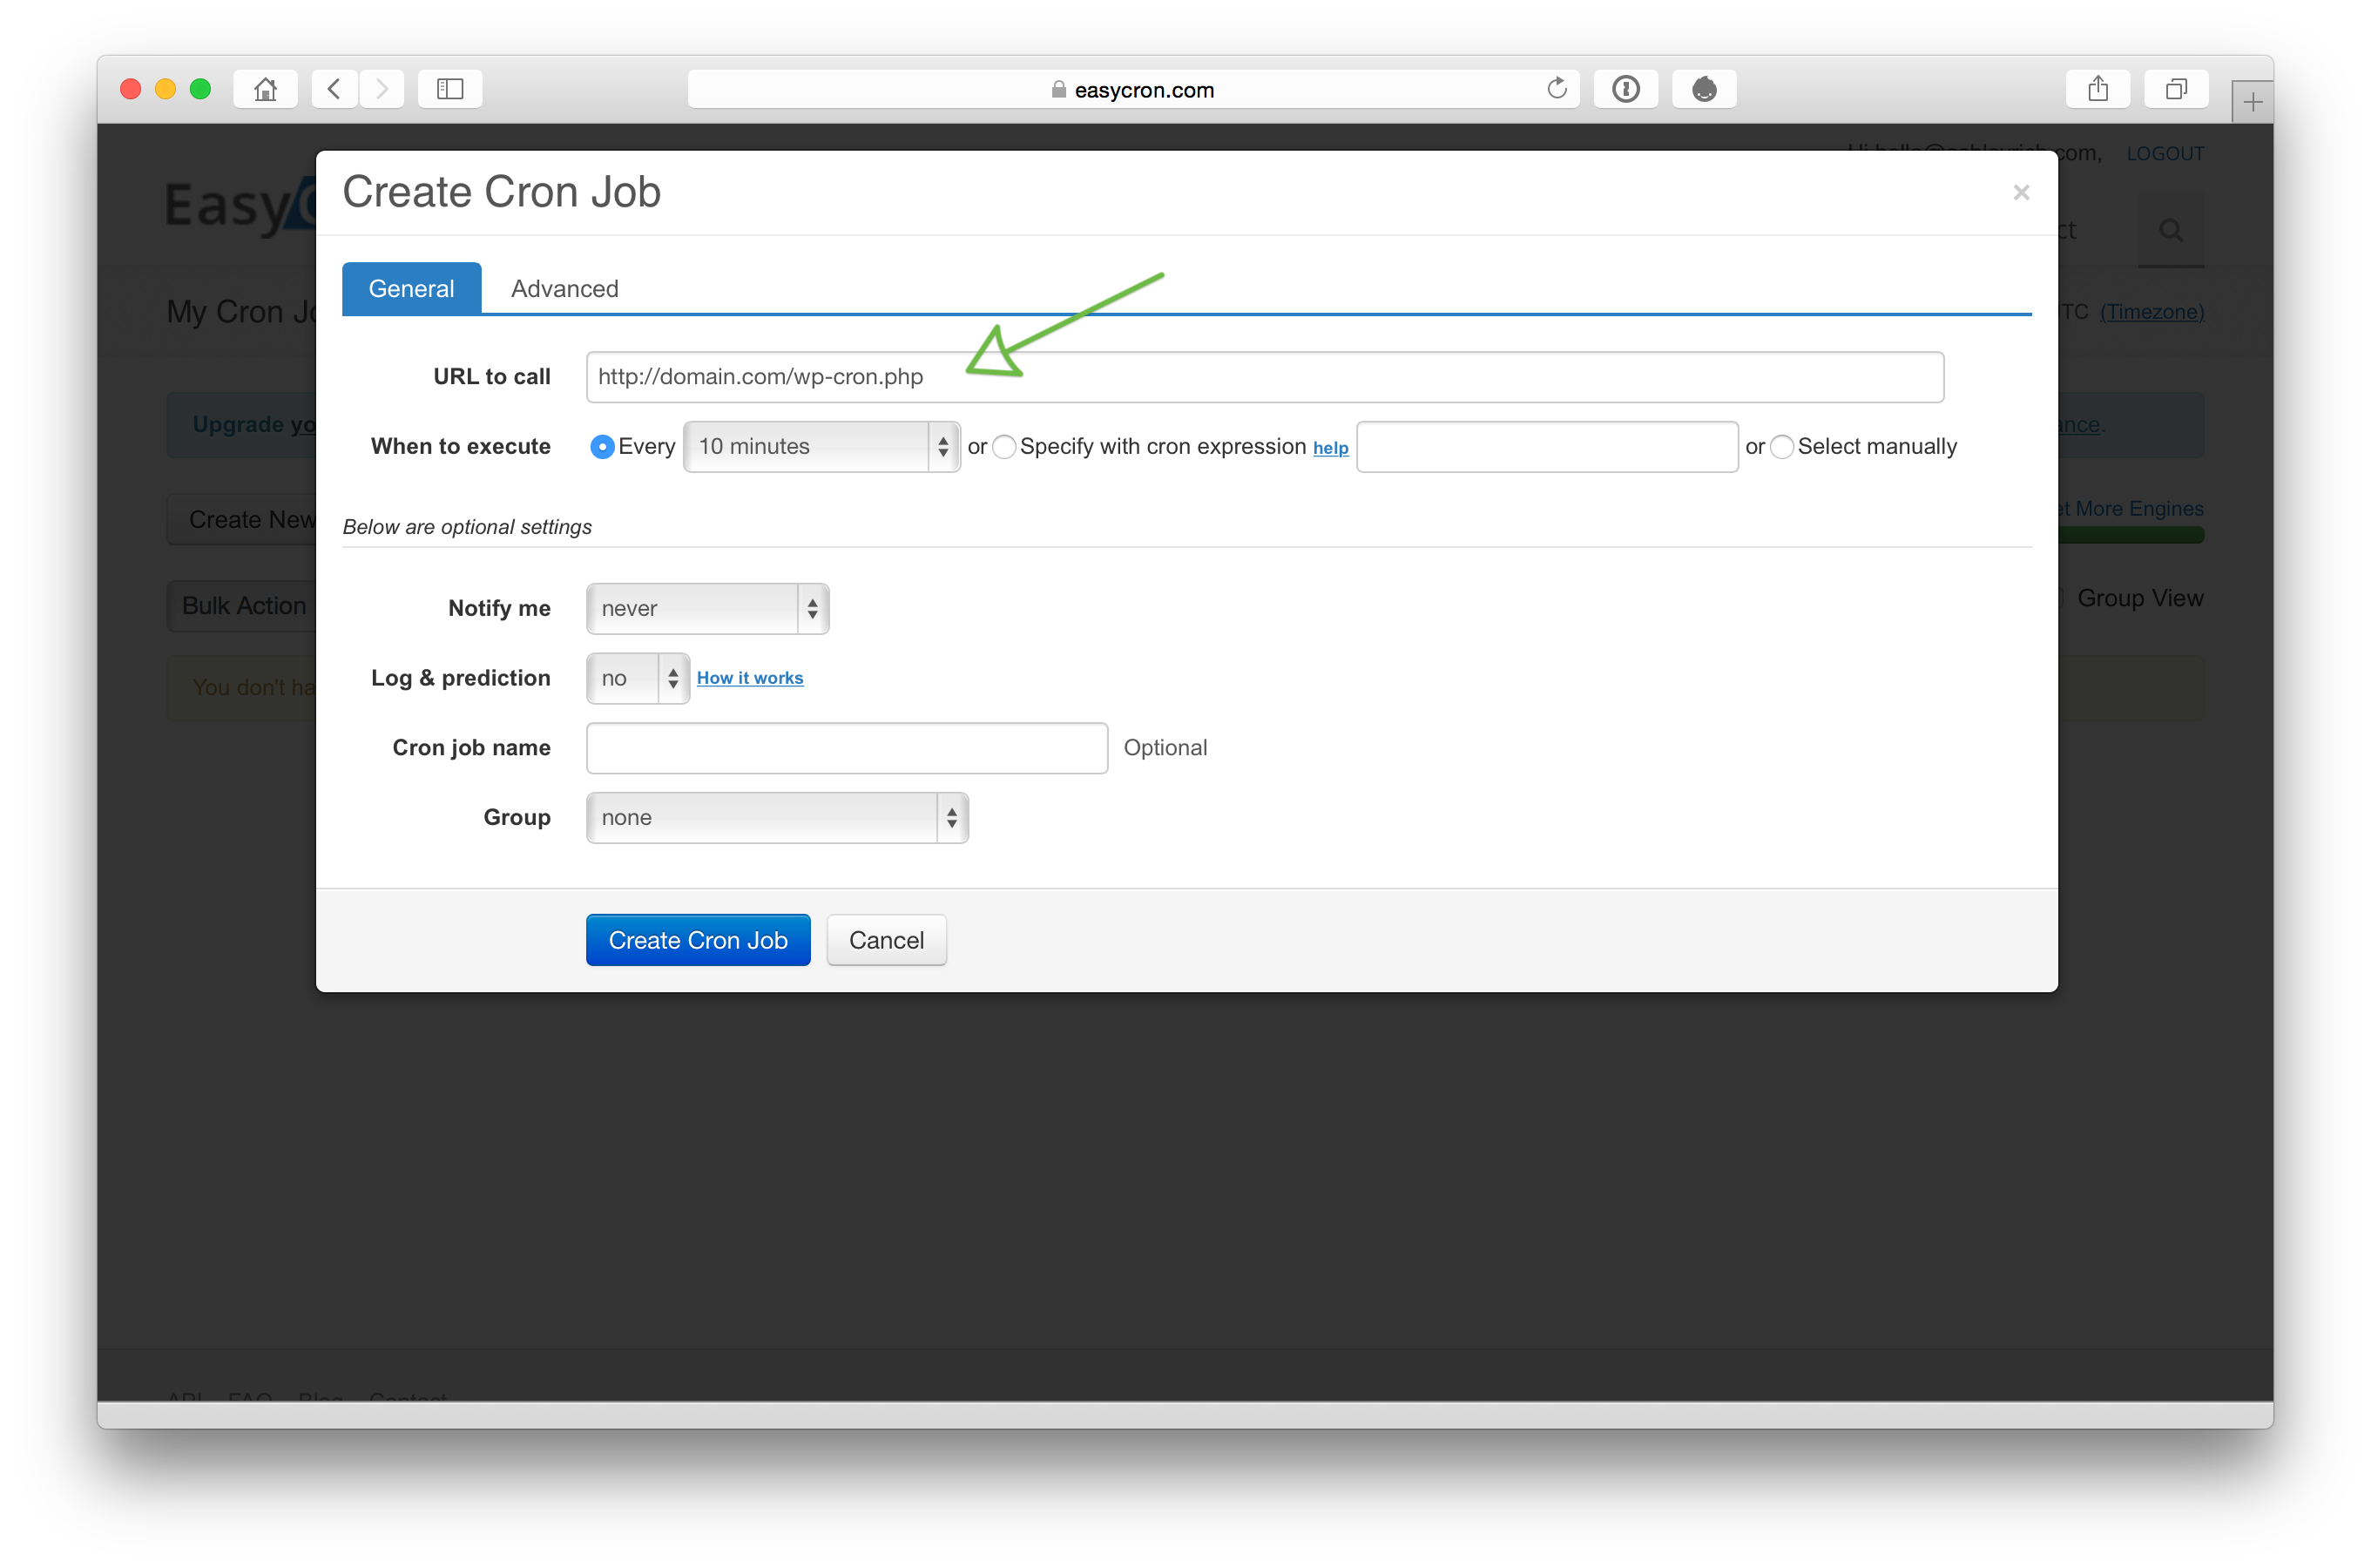
Enter the URL to your site’s cron file. The free plan at www.easycron.com limits cron jobs to 10 minute intervals.
Cron will now fire every 10 minutes, regardless of whether or not any visits are received.
Crontab
SSH to your server.
ssh [email protected]
Open the crontab. If this is the first time, you may be asked to select an editor. Option 2 (nano) is usually the easiest.
crontab -e
Add a new line to the end of the file, ensuring that you specify the absolute file path to your WordPress install.
*/5 * * * * cd /var/www/example.com/public; php -q wp-cron.php >/dev/null 2>&1
Alternatively, you can use cURL if PHP CLI causes you issues.
*/5 * * * * curl http://example.com/wp-cron.php?doing_wp_cron >/dev/null 2>&1
Hit CTRL-X followed by Y to save and exit. Cron will now fire every 5 minutes, regardless of whether or not your site receives any visits.
Testing Cron
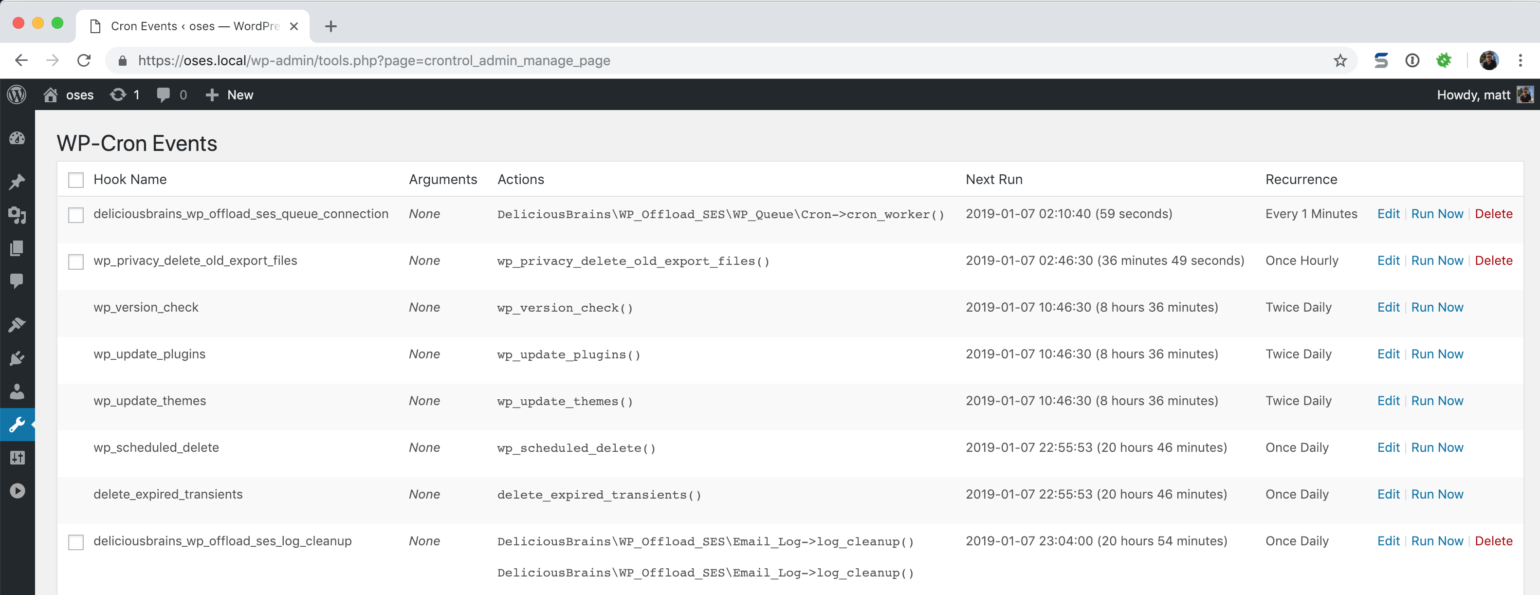
You can test that cron is correctly configured by installing WP Crontrol. Once installed and activated, head to Tools > Cron Events.

Each scheduled event will have it’s next run time displayed. An event which has now in the next run column is due for processing and should be handled on the next cron tick. If the next run time doesn’t update and the cron interval you have configured has elapsed, then cron jobs are not being processed. You need to check that your cron job is configured correctly, as detailed above.
Disable WP Cron
On high traffic sites, you may wish to disable WP Cron once you’ve configured a custom cron job and confirmed that it’s working correctly in order to improve page load times. To do so, add the following line to your wp-config.php file:
define('DISABLE_WP_CRON', true);
Once set, WordPress will no longer fire off a request to wp-cron.php on every page request.
Next Step
If you’ve already configured your IAM user and defined your access keys, you can continue setting up WP Offload SES either by using the Setup Wizard or by configuring the plugin manually.
If you haven’t already created an IAM user or defined the access keys, check out our Quick Start Guide.

