There are typically two types of JavaScript build tools: task runners and module bundlers. In this article, we’ll look at how to use project specific npm build scripts as a build tool and task runner, instead of relying on task runners like Gulp and Grunt or module bundlers like Webpack.
Grunt and Gulp are task runners, automating recurring manual tasks in a development process. Webpack, on the other hand, is a module bundler which takes separate pieces of application code, each with their own dependencies, and bundles them into static assets.
One alternative is to use npm scripts to automate tasks such as building themes and plugins, running tests, and deploying your code to production.
Why Npm Scripts?
Sometimes with build tools like Grunt, Gulp, and Webpack, you may find that you start fighting with the tool rather than focusing on writing the code for your application. Each build tool has its own quirks and gotchas that need to be learned.
Both Grunt and Gulp heavily rely on the use of plugins to add functionality, and most of those plugins are wrappers around existing npm packages. This can lead to problems like:
- There isn’t a plugin for the package you want to use.
- The plugin is out of date and doesn’t support the underlying package properly.
- The plugin doesn’t support a feature you’d like to use for the underlying package.
- The plugin documentation is lacking or unclear.
- The plugin doesn’t handle errors well.
Since most packages usually have a CLI, a simple solution to these problems would be to remove the (sometimes complex) abstraction of build tools altogether and run the underlying packages manually on the command line. This is a great solution, but how are you going to remember all of those CLI commands and their options? And how are you going to chain them together? Wouldn’t it be nice if you could just run a single CLI command and have them all run in the right order, and at the same time?
Npm Scripts
Enter npm scripts, which have been around since at least version 6 of npm. Using the scripts property in your package.json file, it’s possible to define custom scripts to run various CLI commands. This is very similar to the GNU Make tool, used by desktop application developers for Unix-like systems to build and manage their applications.
Once you define your scripts in your package.json, npm has a run command that can execute these scripts. If you’ve ever used a package that asked you to run a command like npm start or npm run test, then you’ve used npm scripts.
A script could be as simple as a single terminal command, or a more complex series of commands that need to be run in a particular order.
To use npm scripts as a build tool we’re going to define a bunch of scripts in a package.json file, similar to defining the tasks we want to run in a config file in other build tools. The difference with npm scripts is that we’re going to run the package CLI without any plugins, then chain the scripts together so we can trigger a build with a single command. For demonstration purposes we’re going to recreate the same build process that we used in the Gulp vs Grunt article:
- Compile Sass to CSS.
- Concatenate and minify CSS and JavaScript.
- Optimize images.
Example Project
We’ve created a GitHub repo as a demo of what we are testing here. It has a preconfigured package.json, including all the npm packages we’re using.
- sass: used to convert Sass to CSS.
- concat: used to concatenate (join) multiple files.
- clean-css-cli: cli for clean-css, a fast and efficient CSS optimizer.
- uglify-js: JavaScript parser, minifier, compressor and beautifier.
- onchange: watch file sets and run a command when anything is added, changed or deleted.
- npm-run-all: run multiple npm-scripts in parallel or sequentially.
- @squoosh/cli: a cli for Squoosh, an image optimizer.
The @squoosh/cli package is a replacement for the imagemin-cli package we used in the Grunt vs Gulp article, due to the imagemin package no longer being maintained.
The repository also contains all the necessary files and demo content, so you can use it to experiment with the npm scripts we’ll be setting up.
Creating Your First Script
For our first npm script, let’s start by compiling our Sass file to CSS using the sass package. First we need to install it:
npm install sass --save-dev
This installs the package in your node_modules directory. Note that the --save-dev flag saves this package in the devDependencies section of the package.json file. This makes it easy for other developers to install the required packages in the future by simply running npm install.
As per the instructions on using the sass command line tool, we can compile our assets/scss/style.scss file into dist/css/style.css using the following command:
sass assets/scss/style.scss dist/css/style.csss
So let’s add this command as an npm script called scss to our package.json file in the scripts section:
"scripts": {
    "scss": "sass assets/scss/style.scss dist/css/style.css"
}
Now run npm run scss from the command line. You should see your Sass file successfully compiled to CSS, and the command output should be the same as running sass manually.
jonathan@jonathan-workstation:~/development/projects/npm-scripts$ npm run scss

> [email protected] scss
> sass assets/scss/style.scss dist/css/style.css
This process can then be repeated for the rest of our project requirements.
Testing Commands
If you find that the script is not doing what you expect, you can test the associated command manually from your terminal using the npx command. This command allows you to run any other arbitrary command from a locally installed package.
To test the command for the scss script with npx, you can run it like this:
npm run scss
Alternatively, you can test the associated command manually from your terminal using npm run followed by the script name.
npm run scss
Adding More Scripts
We can follow the same procedure for any additional scripts we want to add.
- Install the package using
npm. - Configure the script in the
scriptssection of thepackage.jsonfile, to run the relevant terminal command.
Chaining Scripts
It’s also possible to chain scripts together. This is because npm run is itself a CLI command, and it can be run from other scripts. For example:
"scripts": {
    ...
    "concat:css": "concat -o dist/css/styles.css dist/css/style.css assets/css/test.css",
    "concat:js": "mkdir -p dist/js && concat -o dist/js/scripts.js assets/js/test1.js assets/js/test2.js",
    "concat": "npm run concat:css && npm run concat:js",
    ...
}
Here we have created two separate scripts, concat:css, and concat:js, that concatenate our CSS and JS files using the concat command. We could run these separately, but normally it’s useful to be able to run them as a single command. We can do so by creating a new concat script that runs both scripts using npm run.
Grouping Scripts
Once we have all of our required packages installed, the devDependencies section of our package.json should look something like this:
{
  "devDependencies": {
    "@squoosh/cli": "^0.7.2",
    "clean-css-cli": "^5.5.0",
    "concat": "^1.0.3",
    "npm": "^8.3.0",
    "npm-run-all": "^4.1.5",
    "onchange": "^7.1.0",
    "sass": "^1.48.0",
    "uglify-js": "^3.14.5"
  }
}
I’m not going to go into the detail of all the scripts we’ve configured in the example project, but now that you know how the npm scripts works, you can probably figure out what each one of the following scripts does:
{
  "scripts": {
    "scss": "node-sass -o dist/css assets/scss/style.scss",
    "concat:css": "concat -o dist/css/styles.css dist/css/style.css assets/css/test.css",
    "concat:js": "mkdir -p dist/js && concat -o dist/js/scripts.js assets/js/test1.js assets/js/test2.js",
    "concat": "npm run concat:css && npm run concat:js",
    "cssmin": "cleancss -o dist/css/styles.min.css dist/css/styles.css",
    "uglify": "uglifyjs -o dist/js/scripts.min.js dist/js/scripts.js",
    "squoosh": "squoosh-cli --mozjpeg '{quality:70}' assets/img -d dist/img",
    "build:css": "npm run scss && npm run concat:css && npm run cssmin",
    "build:js": "npm run concat:js && npm run uglify",
    "build:img": "npm run squoosh",
    "build": "npm run build:css && npm run build:js && npm run build:img"
  }
}
The important part I want to highlight is at the bottom, where we’ve created build scripts for individual script groups (css, js, img) and then chained them together in a single script called build. Splitting things into logical groups not only makes it easy to chain scripts together, but also helps when you might only want to compile a certain group of your assets. For example, watching for changes.
Watching for Changes
Being able to compile all of your front-end assets using a single npm run build command is useful, but it will quickly get annoying if you need to run it after every time you change part of your code. In these situations, it’s better to let a script “watch” for changes to your code and then run build scripts automatically.
We can achieve this by using the onchange package command. The onchange command works by watching files you specify using a glob pattern, then running a command you specify (after --). For example, to build our CSS files when our Sass files change:
onchange 'assets/scss/*.scss' -- npm run build:css
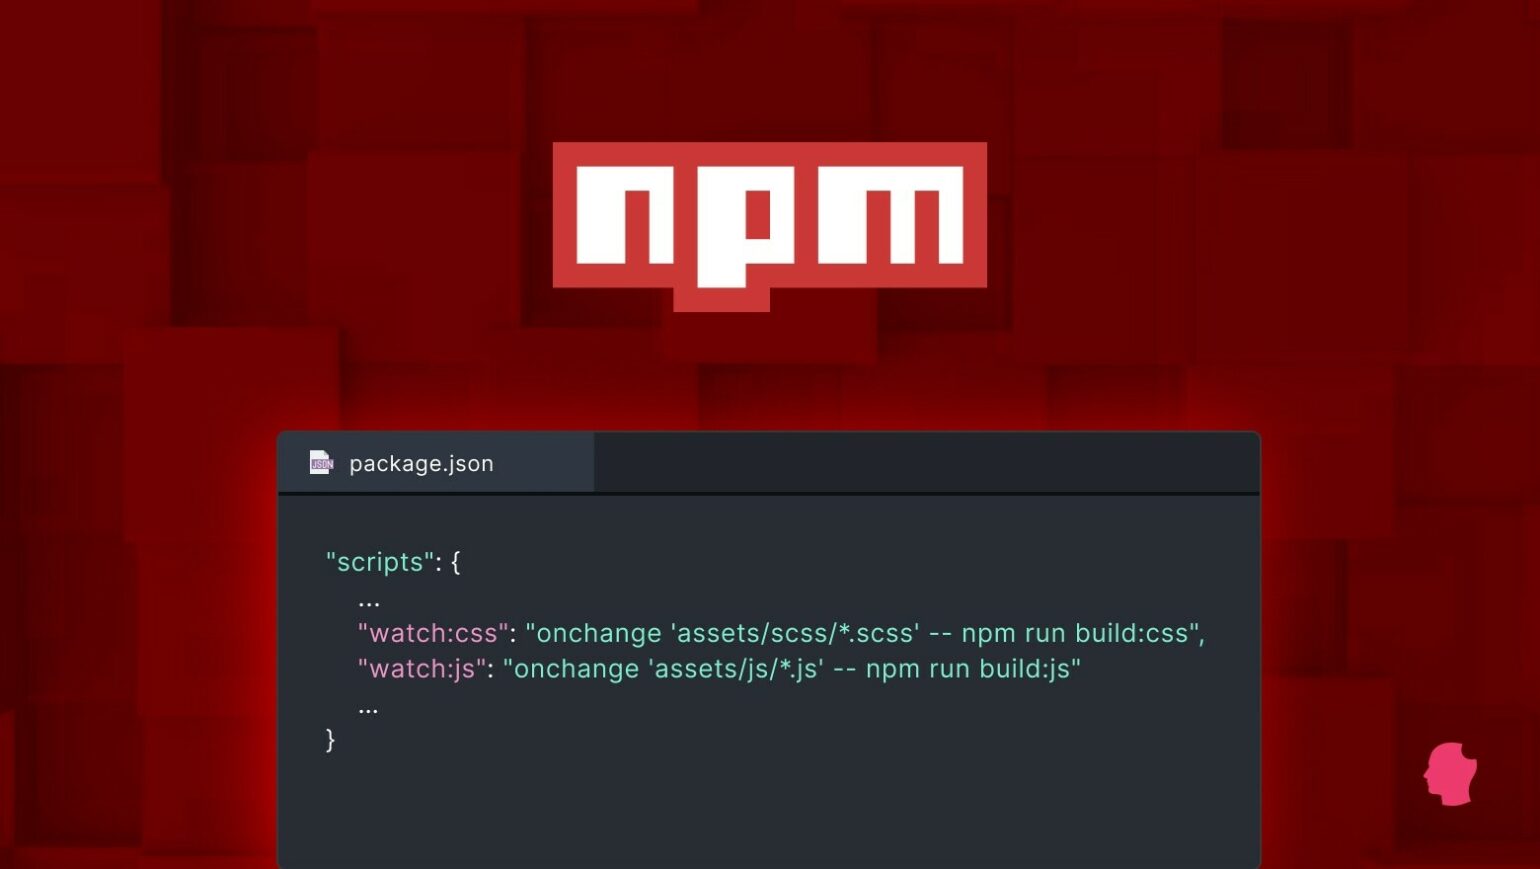
So we can create some new watch scripts and add them to package.json:
"scripts": {
    ...
    "watch:css": "onchange 'assets/scss/*.scss' -- npm run build:css",
    "watch:js": "onchange 'assets/js/*.js' -- npm run build:js"
    …
}
Now if we run npm run watch:css it will watch for changes to our Sass files and run npm run build:css if it detects any changes (and the same for JS).
Running Scripts in Parallel
Say you want to run both watch scripts at the same time as you’re working on your CSS and JS files. Running npm run watch:css && npm run watch:js isn’t going to work, as these commands are run in sequence (i.e., watch:js won’t run until watch:css is finished). How do we run these scripts in parallel? This is where the npm-run-all package command comes into play.
npm-run-all has a --parallel flag that allows us to run groups of tasks at the same time. So let’s create a new watch script:
"scripts": {
    ...
    "watch": "npm-run-all --parallel watch:*"
    …
}
This command will run any watch:* scripts we have defined in parallel, so we can work on both our CSS and JS files and have them be re-built at the same time. Success! Our final npm scripts are now:
"scripts": {
    "scss": "sass assets/scss/style.scss dist/css/style.css",
    "concat:css": "concat -o dist/css/styles.css dist/css/style.css assets/css/test.css",
    "concat:js": "mkdir -p dist/js && concat -o dist/js/scripts.js assets/js/test1.js assets/js/test2.js",
    "concat": "npm run concat:css && npm run concat:js",
    "cssmin": "cleancss -o dist/css/styles.min.css dist/css/styles.css",
    "uglify": "uglifyjs -o dist/js/scripts.min.js dist/js/scripts.js",
    "squoosh": "squoosh-cli --mozjpeg '{quality:70}' assets/img -d dist/img",
    "build:css": "npm run scss && npm run concat:css && npm run cssmin",
    "build:js": "npm run concat:js && npm run uglify",
    "build:img": "npm run squoosh",
    "build": "npm run build:css && npm run build:js && npm run build:img",
    "watch:css": "onchange 'assets/scss/*.scss' -- npm run build:css",
    "watch:js": "onchange 'assets/js/*.js' -- npm run build:js",
    "watch": "npm-run-all --parallel watch:*"
},
Verdict
You should now have a good idea of what it looks like to create a build tool using only npm scripts and CLI packages. So should you use npm scripts instead of a build tool like Grunt or Gulp?
Especially for smaller projects, npm scripts seem like a neater solution than having to install and learn the abstractions of build tools like Grunt and Gulp. However, your package.json file may get complex and messy for larger projects with loads of scripts. At that point having a separate, dedicated config file for your build probably makes more sense.
Also, performance seems to be much worse than both Grunt and Gulp. Npm scripts don’t have the advantage of being able to use node streams the way Gulp does, but even Grunt ran significantly quicker than npm scripts. Due to replacing imagemin-cli with @squoosh/cli it’s hard to compare benchmarks directly to Grunt/Gulp performance, but even if we leave out the image processing, npm scripts are slow:
- Grunt: 1.6 seconds
- Gulp: 0.84 seconds
- Npm scripts (without image processing): 2.0 seconds
- Npm scripts (with image processing): 6.0 seconds
This brings up another point: plugin availability. To do the benchmarks properly, I tried to find Grunt and Gulp plugins for @squoosh/cli. While there is one for Gulp, one does not exist for Grunt. Wikimedia recently discovered this and switched to using npm scripts.
That being said, one thing to remember is that using npm scripts or Grunt/Gulp aren’t mutually exclusive. You could always run Grunt/Gulp inside a npm script as part of your build process. This might help with performance issues but it also would be helpful if you’re trying to migrate your team from Grunt/Gulp to npm scripts and want to take a more staggered approach before completely replacing Grunt/Gulp.
Do you think using npm scripts is a better alternative to other build tools like Grunt or Gulp? Have you used npm scripts before and have any good tips to share? Are you going to give npm scripts a try now that you’ve read this post? Let us know in the comments.