Amazon S3 Quick Start Guide
This guide aims to help you start offloading your WordPress Media Library to an Amazon S3 bucket with WP Offload Media as quickly as possible.
We also have Quick Start Guides for other storage providers.
This article covers the following steps:
- Log in to the AWS Console
- Create an Amazon Web Services (AWS) User
- Create Access Keys for the new User
- Saving the AWS User’s access details for WP Offload Media to use
- Activate Your WP Offload Media License
- Configure WP Offload Media to offload newly uploaded media to an Amazon S3 bucket
- Bucket Security Settings
- Offload Your Existing Media Library
- Next steps for setting up WP Offload Media to use a CDN
Log in to the AWS Console
Already have an Amazon Web Services (AWS) account? Sign in here.
If you don’t have an AWS account yet, you will need to sign up here.
Create an IAM User
Once you have logged into the console, you will need to create a new IAM user:
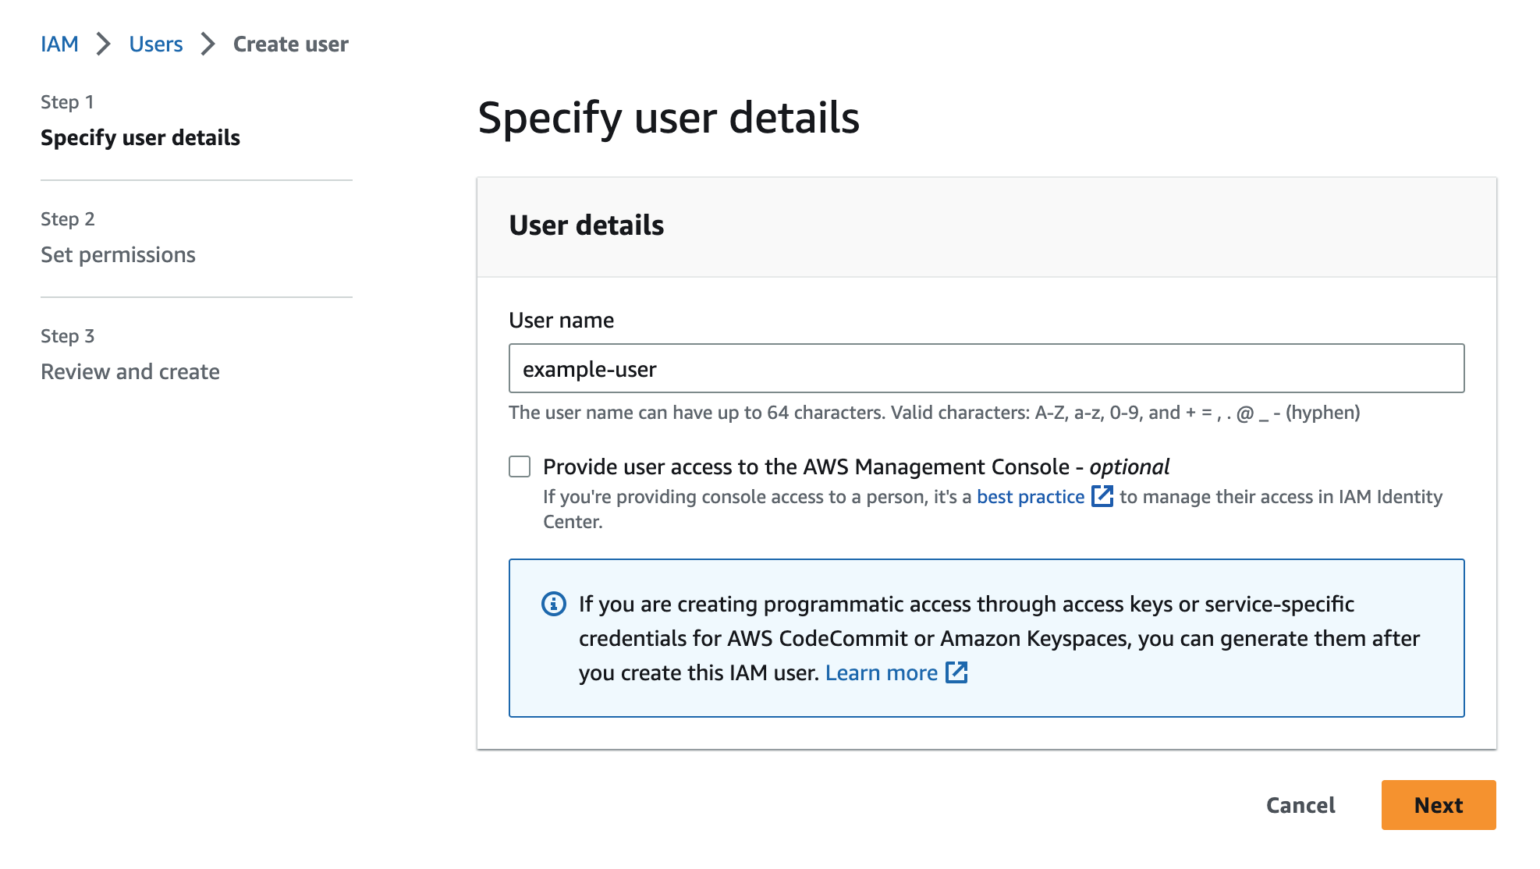
Navigate to the IAM Users page in the AWS Console, click the Add users button.
Enter a name for the user in the User name field.
Names are case insensitive and must be unique within your AWS account. User names can be a combination of up to 64 letters, digits, and these characters: plus (+), equal (=), comma (,), period (.), at sign (@), and hyphen (-).
Leave the checkbox for Provide user access to the AWS Management Console empty. Click Next to continue.
To allow the new user to manage buckets and objects in the S3 service, you need to grant it specific permissions.
For this quick start guide we recommend giving the new IAM User full access to S3, and nothing else. Using the AmazonS3FullAccess policy helps avoid potential problems when first setting up WP Offload Media, but experienced users of AWS may wish to use a Custom IAM Policy. It’s always possible to later edit an IAM User’s policy to restrict access to only those resources required by WP Offload Media.
Click the Attach policies directly button, and then enter s3full in the filter policies input box.
Select the AmazonS3FullAccess policy, then click the Next button at the bottom of the page.

In the final step, you can optionally add tags before creating the new user. Adding tags is purely optional, if you’re a heavy user of AWS you may have a reason to add tags here to help with management tasks.
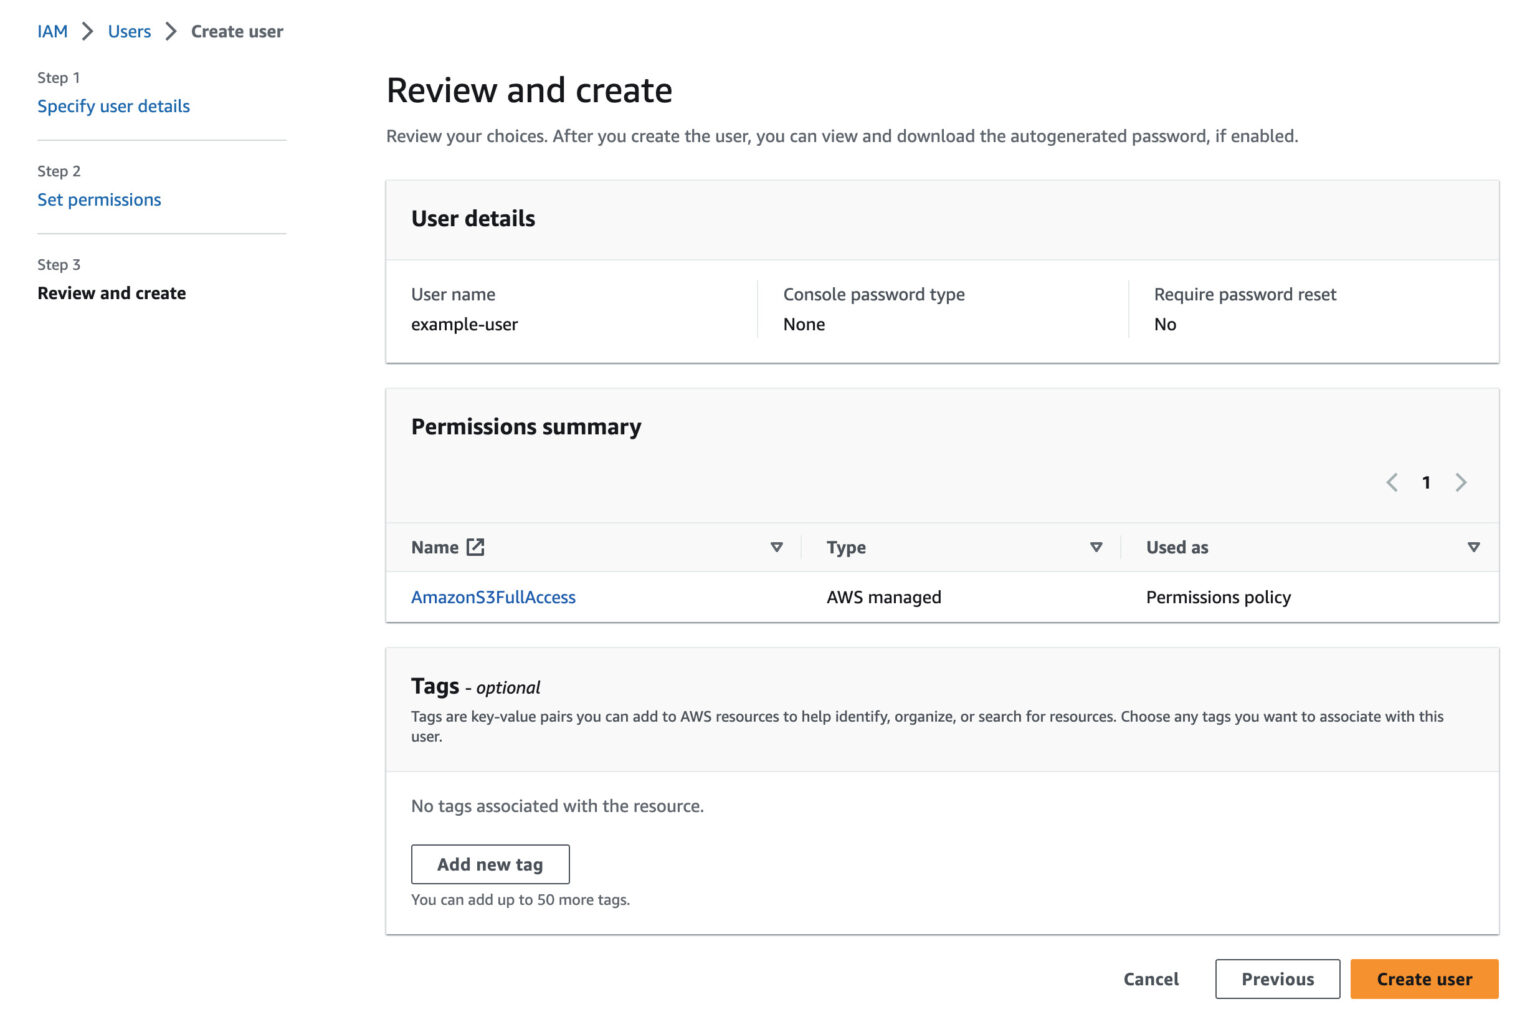
Whether you add tags here or not, click the Create user button at the bottom of the page to go ahead and create the new user. Once done, you will be taken back to the IAM Users listing page where you will see a confirmation that the new user has been created.

Create Access Keys
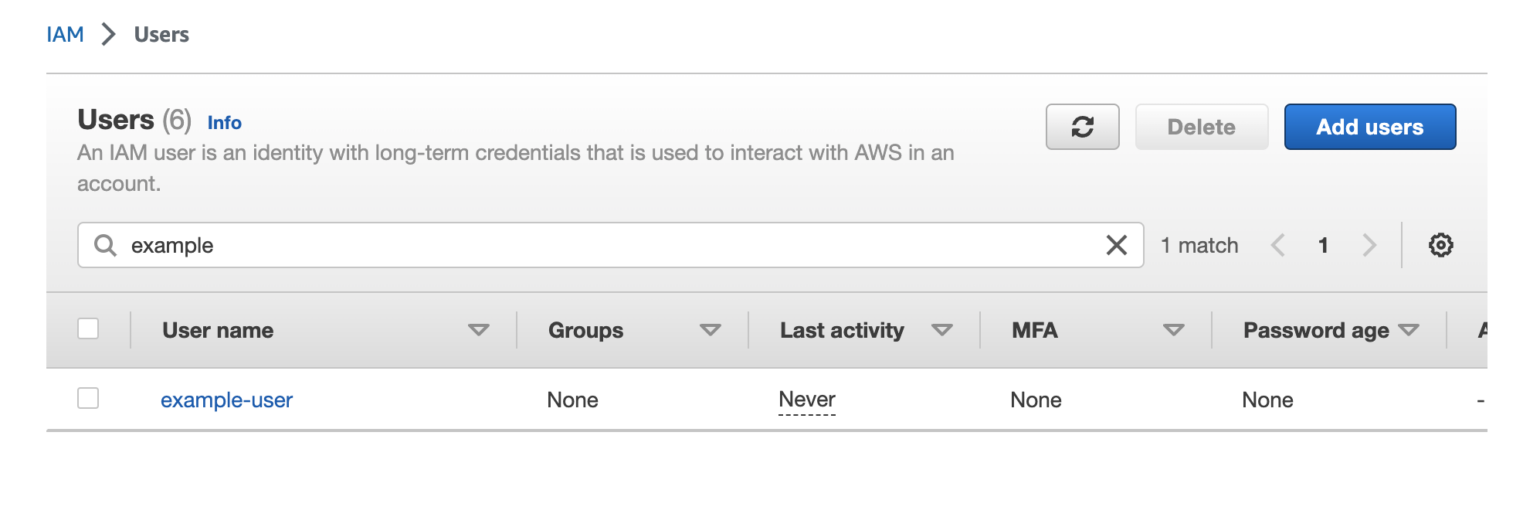
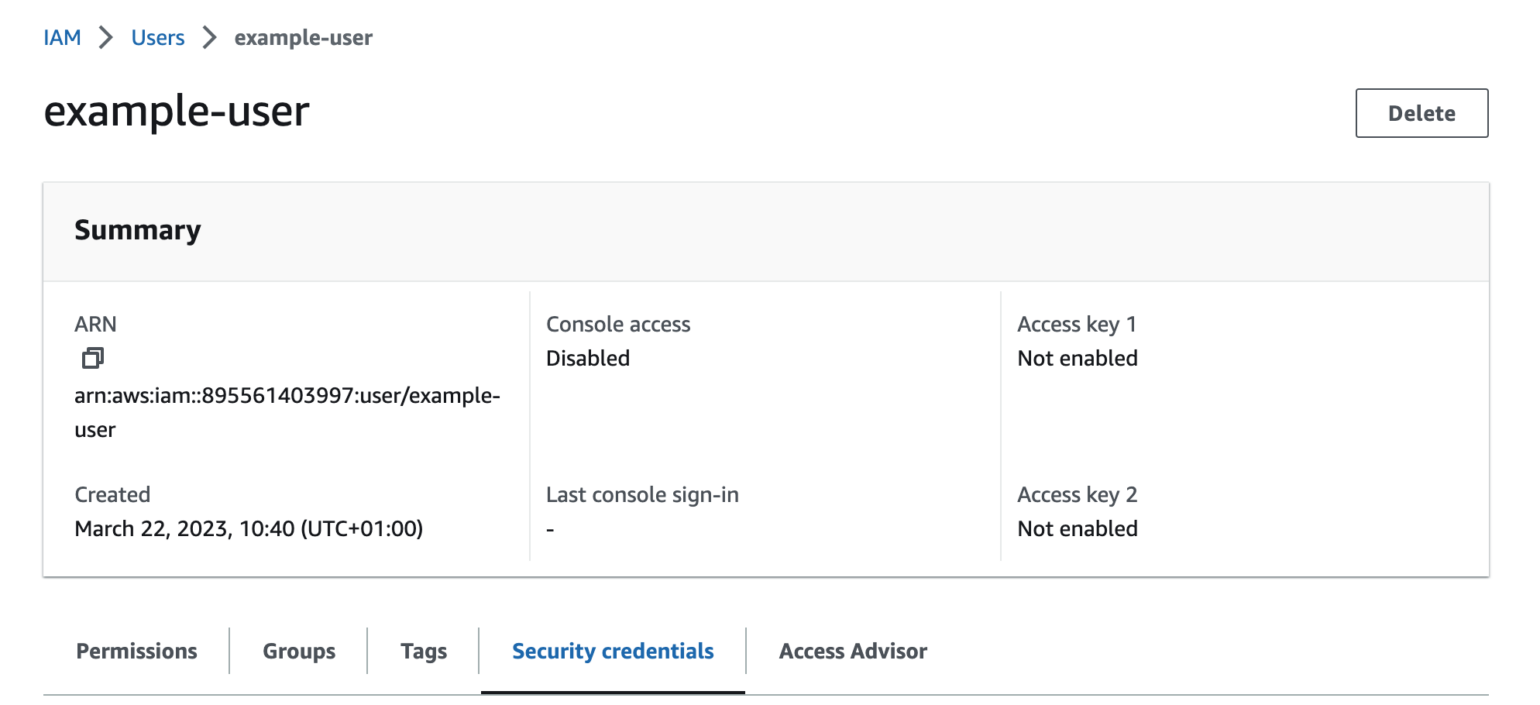
Next, you need to create access keys for the new user. Click on the newly created user name in the IAM Users page in the AWS Console to open the user details page.
Go to the Security credentials tab and scroll down to the Access keys section and then click the Create access key button.

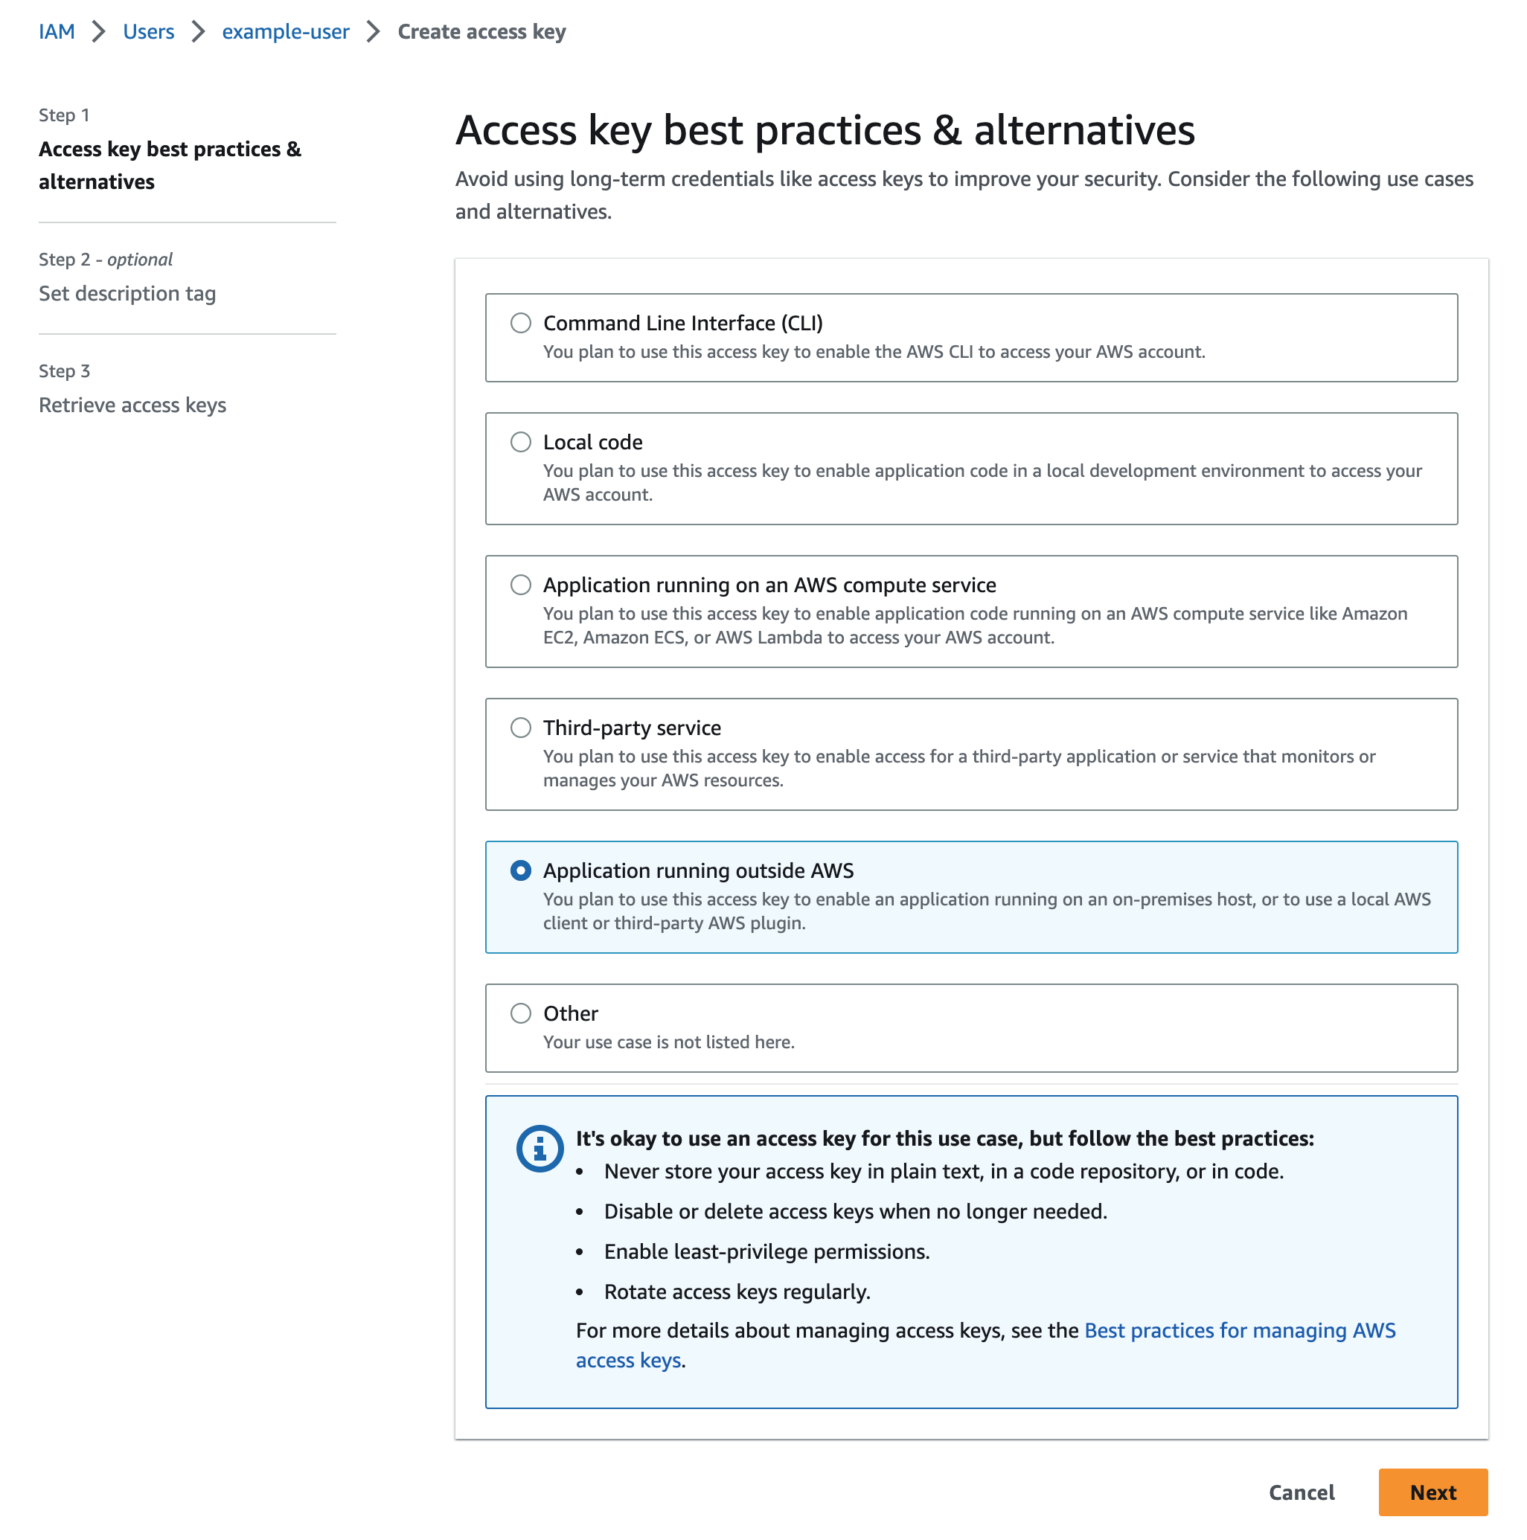
In the first step, you will be shown a list of Access key best practices & alternatives. Select Application running outside AWS and then click Next.
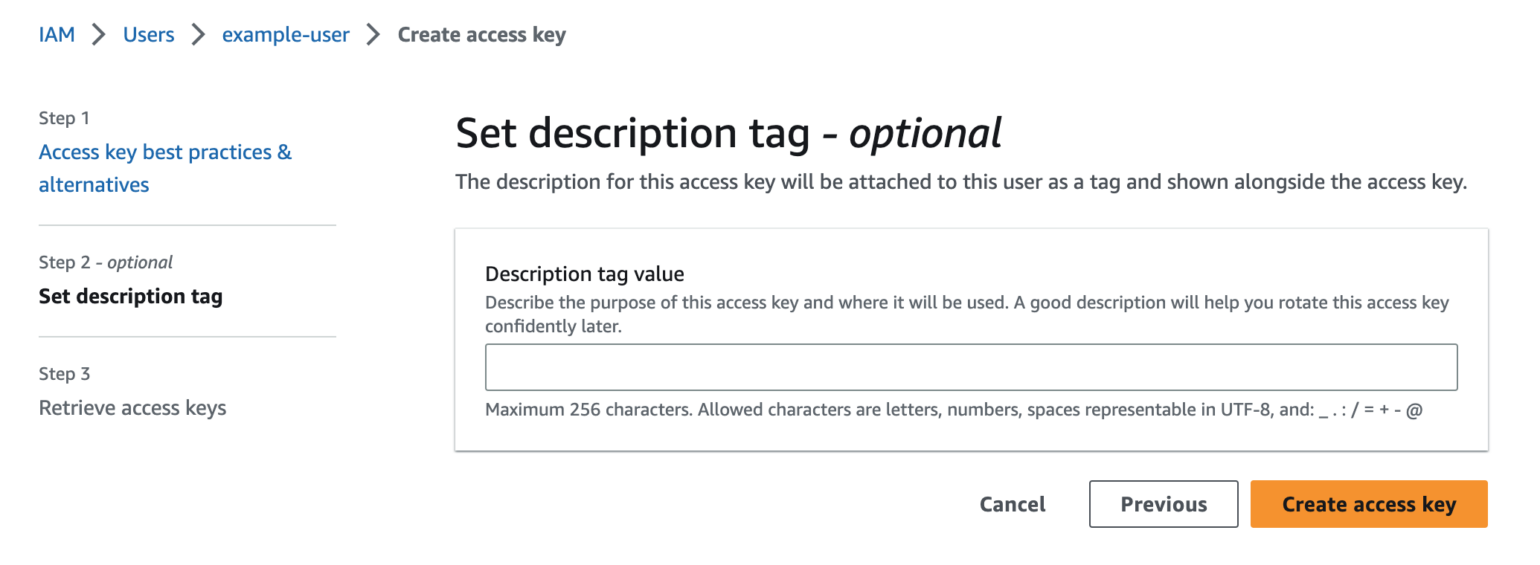
The second step allows you to set a description tag and is entirely optional, whether you add tags here or not, click the Create access key button to get to the last step.
You will be shown the security credentials for the user, which consist of an Access Key ID and a Secret Access Key. Amazon will not show these again so please download them as a .csv and also copy them somewhere safe. If you lose them, you can always create a new set of keys from the console but you cannot retrieve the secret key again later.
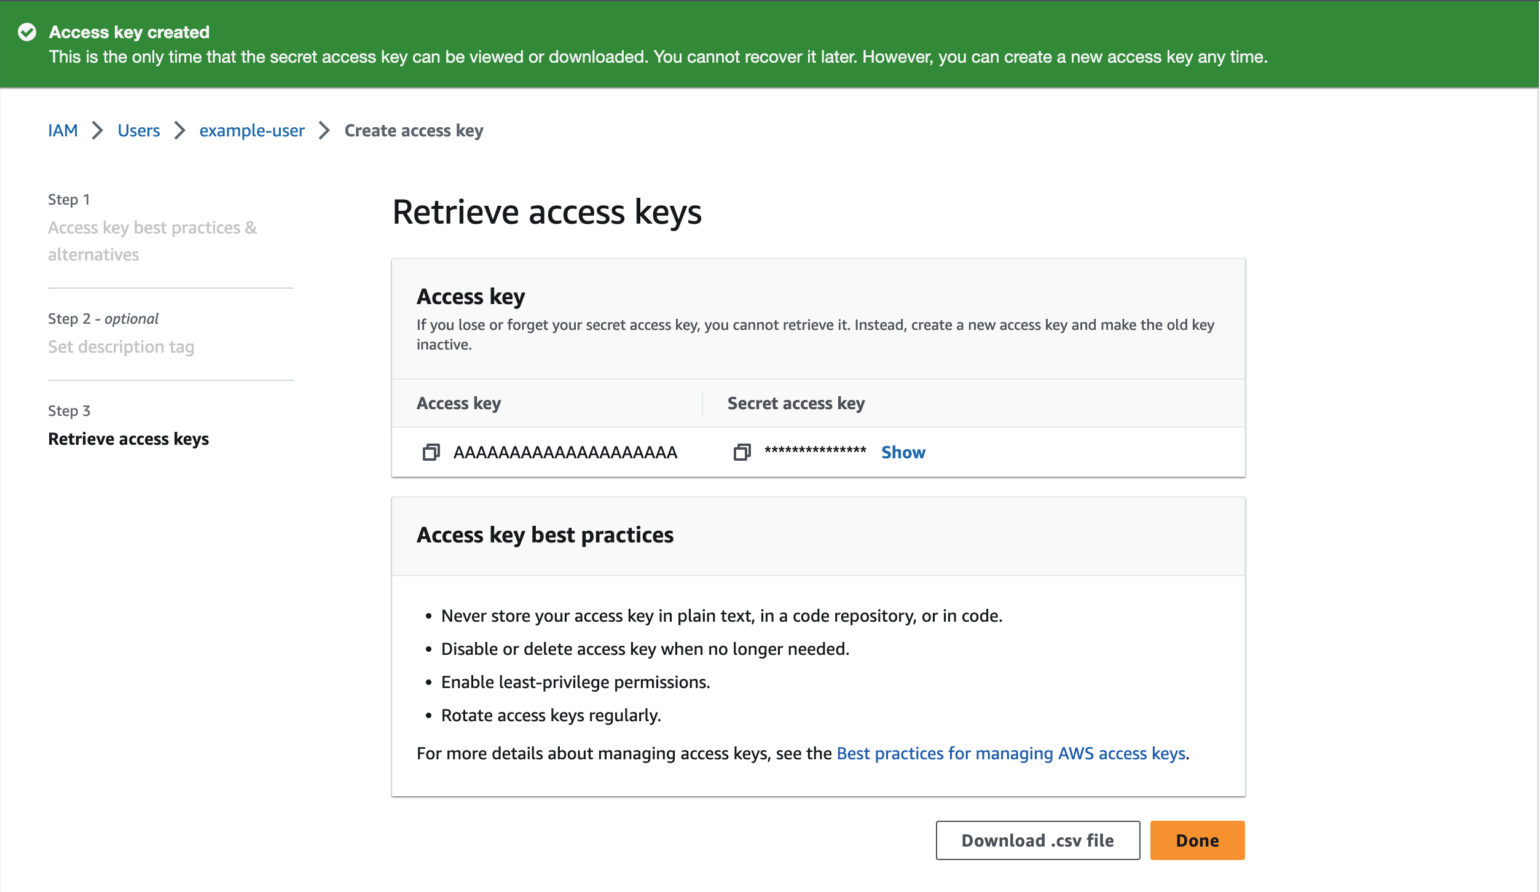
Clicking the Done button will return you to the user details page.
Define Your Access Keys
Now that you have your AWS Access Keys, you need to add them to your site so that WP Offload Media can use them to work with the Amazon S3 service.
For better security, we recommend defining your access keys in your wp-config.php:
define( 'AS3CF_SETTINGS', serialize( array(
    'provider' => 'aws',
    'access-key-id' => '********************',
    'secret-access-key' => '**************************************',
) ) );
These should be placed between the following comments in your wp-config.php:
/* Add any custom values between this line and the "stop editing" line. */


/* That's all, stop editing! Happy publishing. */
Warning: If you define your access keys after this block of code, WP Offload Media will not be able to read them.
Alternatively, you can enter your access keys into the form on the Storage Provider page inside WP Offload Media, the first page shown when no keys are defined. This will save them to the database, which is less secure than defining them in your wp-config.php.

IAM Roles
If you’re running your site on an Amazon EC2 instance, you might like to use an IAM Role instead. This is even more secure than defining your access keys in wp-config.php.
Activate Your WP Offload Media License
Now’s a good time to activate your WP Offload Media license so that (once configured) you can instantly take advantage of all its goodies.
Go to WP Offload Media’s settings page in the WordPress admin dashboard, found under the Settings menu.
Then click on the License tab, enter your license key in the input box, and click the Activate License button.

Configure WP Offload Media
To start offloading newly uploaded media to Amazon S3 you need to first tell WP Offload Media which bucket it should use. If you have not already created a bucket to use with WP Offload Media, it can be created for you from WP Offload Media’s Settings page.
Go to the Media tab of WP Offload Media’s Settings page in the WordPress admin dashboard. If you have followed the steps above then you should see something like the following.

Use Existing Bucket
If you have already created the bucket you want to offload your media to, then you can keep the Use Existing Bucket button selected in the 1. New or Existing Bucket? panel, enter the bucket name into the BUCKET NAME input field found in the 2. Select Bucket panel, and click the Save Bucket Settings button.
You may also browse for an existing bucket by selecting the Browse existing buckets radio button in the 2. Select Bucket panel, click the bucket name you wish to use to select it, and then click the Save Selected Bucket button.

If you enter or select an existing bucket you will then be taken to the Security tab to confirm bucket security settings. Please skip down to the Bucket Security section to read about that.
Create New Bucket
If you haven’t created the bucket yet, then you can click the Create New Bucket button in the 1. New or Exisitng Bucket? panel to see the 2. Bucket Details panel where you can specify the new bucket’s name and region. Click the Create New Bucket button to continue.

Regardless of how you specify the bucket, once saved, WP Offload Media will be set up to offload newly-uploaded media to the bucket with some recommended default settings.

Bucket Security
If you picked an existing Amazon S3 bucket during initial set up, or are in the process of changing the bucket to be used with WP Offload Media, you will be taken to the Security tab after saving the bucket details.
This tab allows you to control two important Amazon S3 specific security features that have an impact on how offloaded media items can be delivered.

Block All Public Access to Your Amazon S3 Bucket
If you do not intend to use Amazon CloudFront as the Delivery Provider, but instead want to use raw S3 URLs or a Content Delivery Network (CDN) other than CloudFront, then WP Offload Media needs to be able to make objects in the bucket public readable (not editable). Otherwise, site visitors won’t be able to access the raw S3 URLs and the non-CloudFront CDN won’t be able to access the bucket to deliver the files. Making objects public is safe as it is on a per object basis and is different from making the bucket public. Even if you’re only going to use WP Offload Media to offload “private” objects for WooCommerce, Easy Digital Downloads or similar, WP Offload Media still needs to be able to change the permissions on individual objects in the bucket if not using Amazon CloudFront as the Delivery Provider.
There is more information in our Block All Public Access to Bucket help doc.
Enforce Object Ownership
Amazon S3 buckets also have a setting to Enforce Object Ownership that not only ensures that objects in the bucket are always owned by the bucket’s AWS account, but also disables the ability to use ACLs to control whether objects are public readable or private. All objects are effectively made private by default until a bucket policy is created that enables public access. When Enforce Object Ownership is enabled, WP Offload Media can no longer control public/private access to individual offloaded files by dynamically assigning an appropriate ACL. The only supported way to protect private media in this case is to use a CDN service that supports it (AWS CloudFront).
As such, much like with Block All Public Access to Bucket, unless you intend to use CloudFront as the Delivery Provider, or have already put in place the required bucket policy, it is advised that you turn off Object Ownership enforcement during initial set up.
There is more information in our Amazon S3 Bucket Object Ownership help doc.
Update Bucket Security
For the purposes of this quick start guide, we recommend ensuring the Block All Public Access and Object Ownership toggle switches are turned off, and clicking the Update Bucket Security or Keep Bucket Security As Is button as appropriate.

Make Sure Cron Is Set Up
We highly recommend that you configure a proper cron job on your server as WP Offload Media relies heavily on background processing. See our Cron Setup doc for details on how to accomplish this.
Offload Your Existing Media Library
Now that your site is configured to offload newly-uploaded media to Amazon S3, you might want to offload any existing media to the bucket too.
In the Tools tab of WP Offload Media’s settings page you should see what we call the “Offload Tool”, this can be used to offload existing media to the bucket.
If you have not offloaded anything yet, then you’ll see a “Your Media Library needs to be offloaded” message in the Offload Tool with an Offload Now button.

If you have already offloaded a few items, then you might see a message like “66% of your Media Library has been offloaded” in the Offload Tool, with an Offload Remaining Now button. You should also see some other tools below the Offload Tool.

Either way, clicking the Offload Tool’s button will start an upload to the bucket of all existing media yet to be offloaded.

The media offload progresses in small batches in the background to keep things efficient. You can close the tab and just forget about it, when the tool finishes its job, you’ll get a notice in the WordPress dashboard, or you can monitor progress from WP Offload Media’s settings page.
Once complete, the Offload Tool displays a “100% of your Media Library has been offloaded, congratulations!” message and the Download all files from bucket to server and Remove all files from bucket tools are made available.

Next Steps: Using a Content Delivery Network (CDN)
Now that your media is offloaded to Amazon S3, your next step if you’re concerned about performance (i.e. load time and SEO), is to configure a CDN.
By default WP Offload Media is configured to use raw Amazon S3 URLs when serving offloaded media. Your media URLs might look something like this:
https://s3-eu-west-1.amazonaws.com/wicked-awesome-bucket-name/wp-content/uploads/…
Not only is this an ugly URL, but this URL is also bad for SEO as Google likes to see your media on your own domain. Also, Amazon S3 is primarily a storage platform and is not optimized for high speed delivery of media. Faster media is obviously better for user experience but also better for SEO. For these reasons, we strongly recommend configuring Amazon CloudFront or another CDN for delivering your media. For more details about the benefits of CloudFront and other CDNs, please read our Why Use a CDN? doc.
We have a guide for setting up Amazon CloudFront as your CDN guide. It gets you up and running with CloudFront properly configured to use your Amazon S3 bucket as its origin, and shows how to update WP Offload Media’s settings to use it.
If you’re planning to set up the Assets Pull addon as well, you will most likely want to use the same domain name for both your media and assets with Amazon CloudFront. Check out our guide to accomplish that.
If you don’t want to use Amazon CloudFront for your CDN, you can also use any other CDN. We have a guide for setting up Cloudflare as well as StackPath.